cheeze pah
*side note: I’ve been selected again to participate in Foodie Fights! The ingredients are excellent, so be sure to check back on Monday to see what I’ve made and to vote!
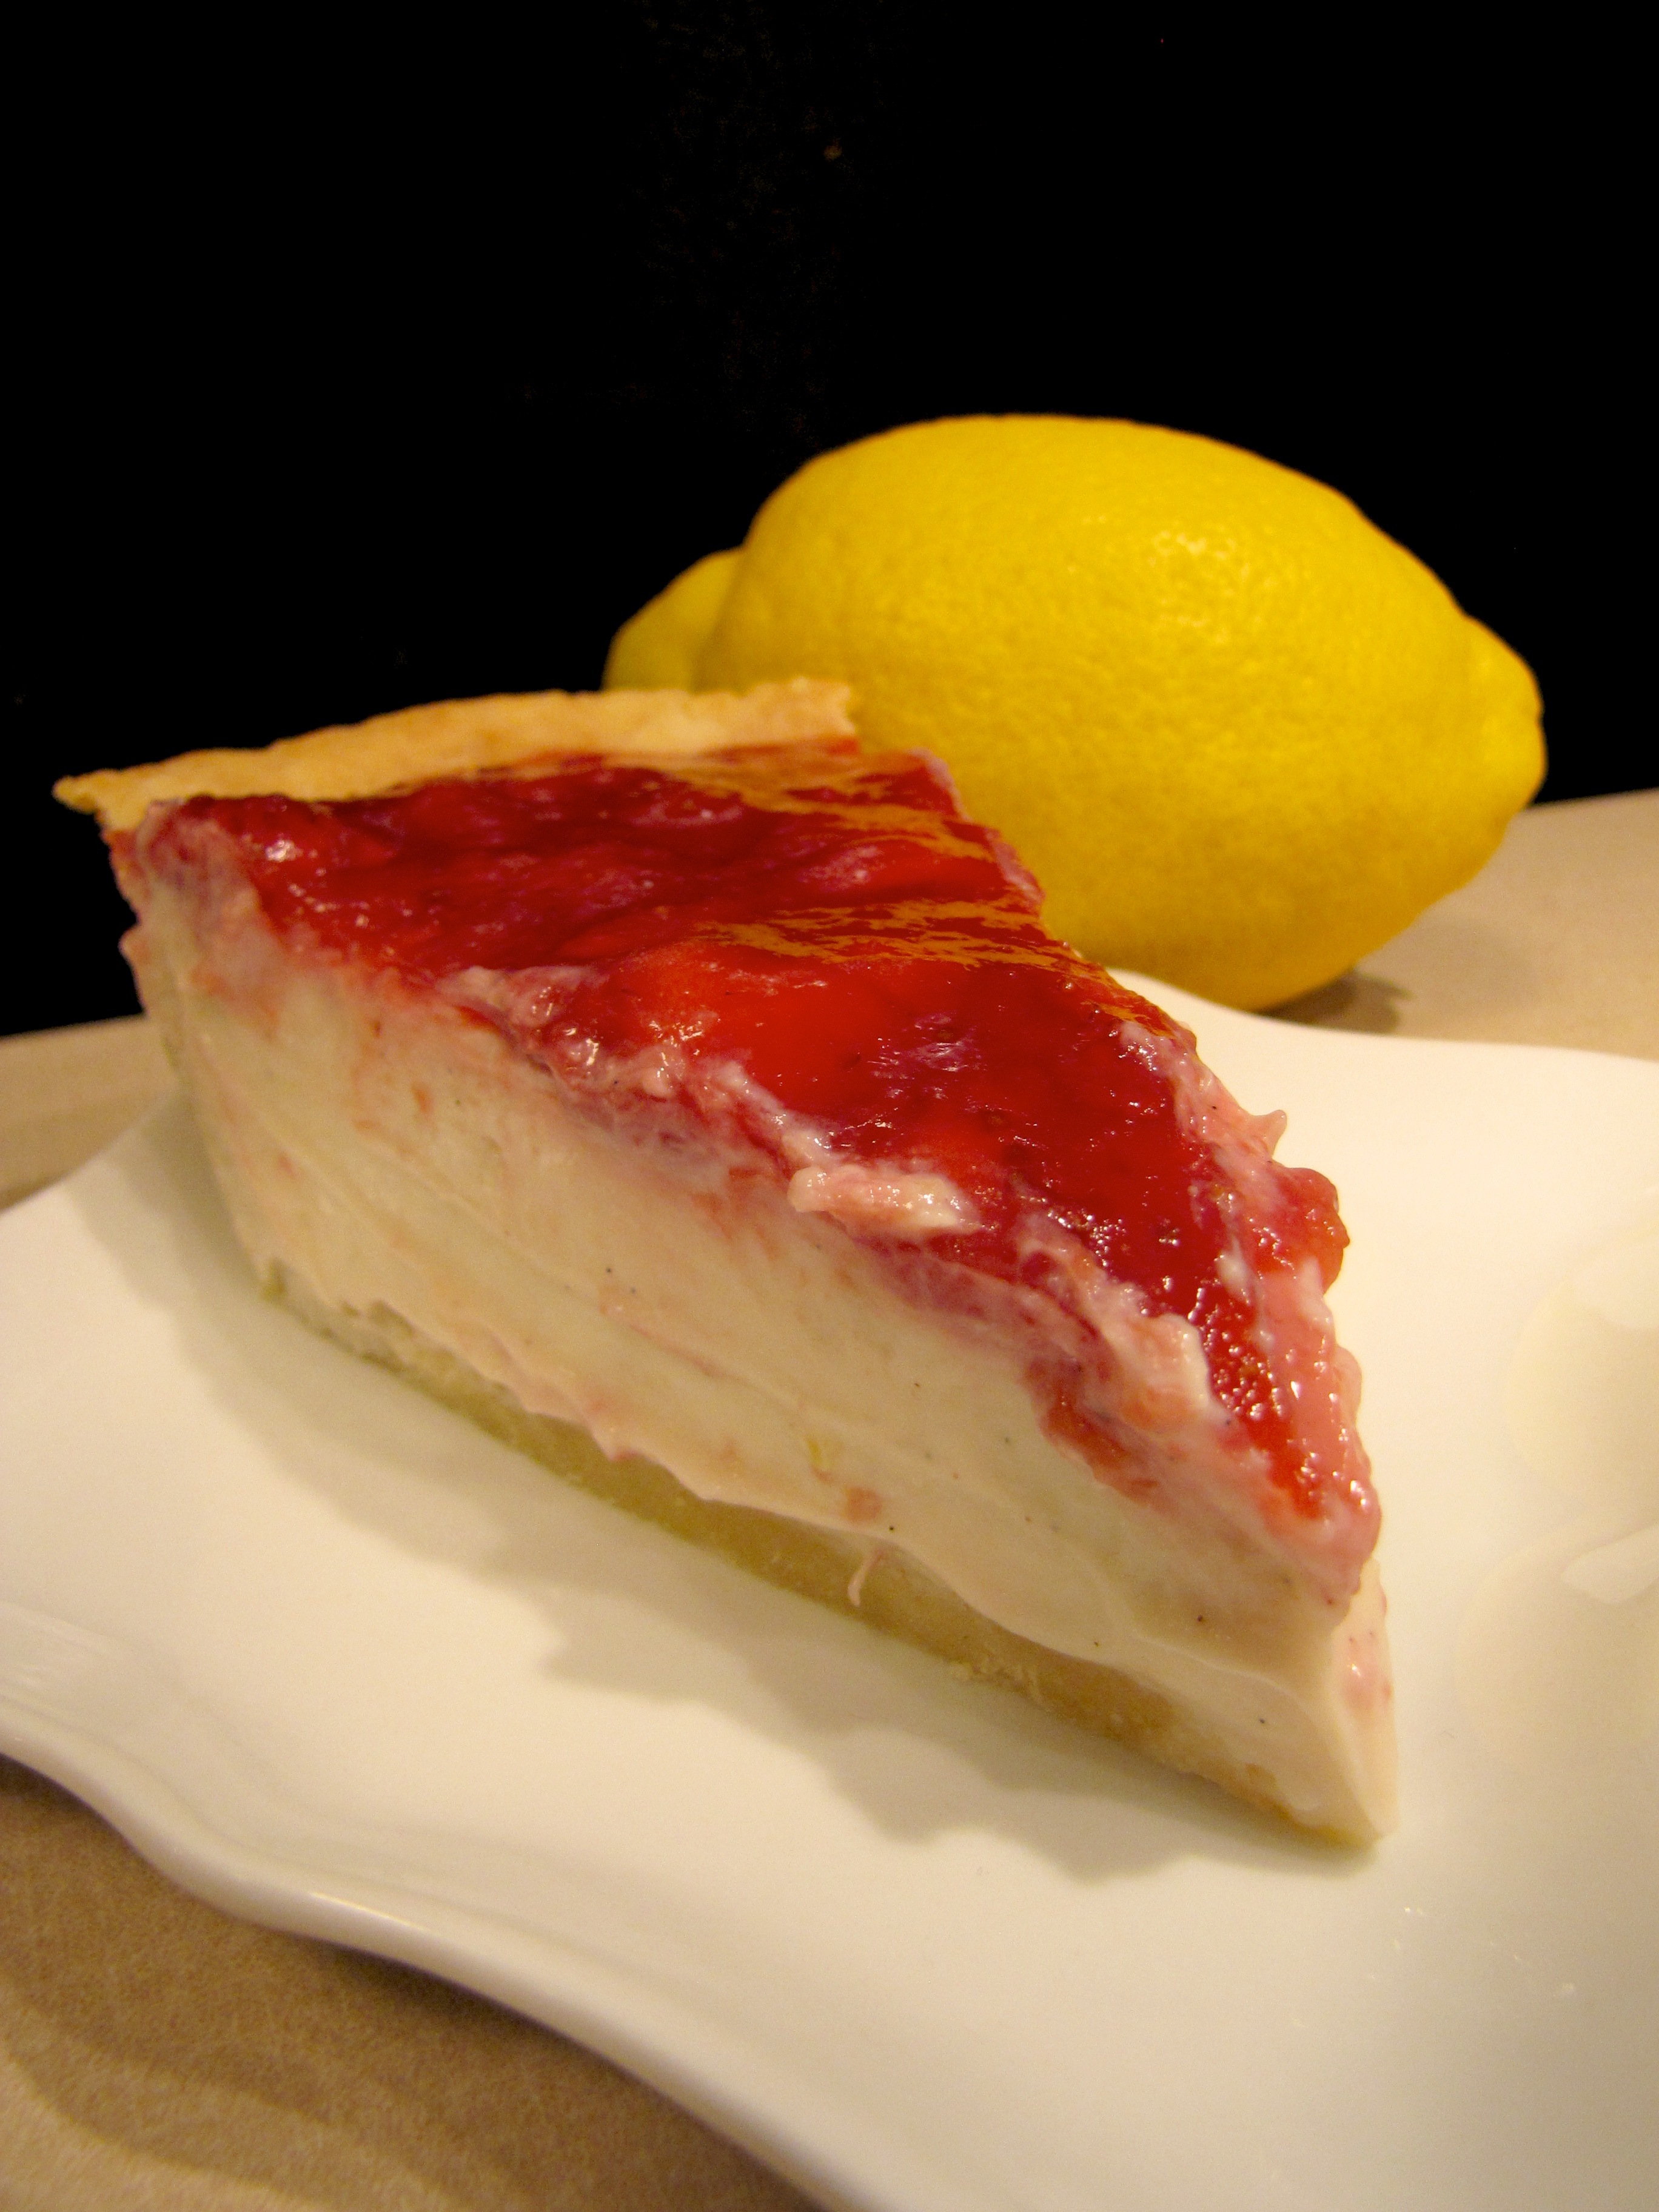
When you make a cheesecake in a pie tin you cannot call it a cheesecake. It must be called a cheesepie. I’m not making up the rules here, people, I’m just saying what I learned on the almighty interwebs.
I wasn’t that excited to name a recipe in my cookbook a cheesepie. It’s just doesn’t sound that appetizing, to me, at least. But alas, I didn’t want to incite the wrath of the foodie cyber gods. Whatever you call it, this is some good cheese%#*$.
The directions for this pie (as well as a couple of others in my book) call for a water bath. A water bath is when you have your baking receptical (pie tin, springform, etc) in a larger pan with sides, filled half way with warm water. If you’ve ever had a cheesecake that was harder around the exterior and cracked in the middle, well, this remedies that. The water helps the pie cook more evenly, keeps it softer around the edges and keeps the middle from cracking.
For anyone who hasn’t done a water bath in the past this can sound foreign and off-putting. It’s SO easy and SO worth it. Take a look at this crazy gadgetry:
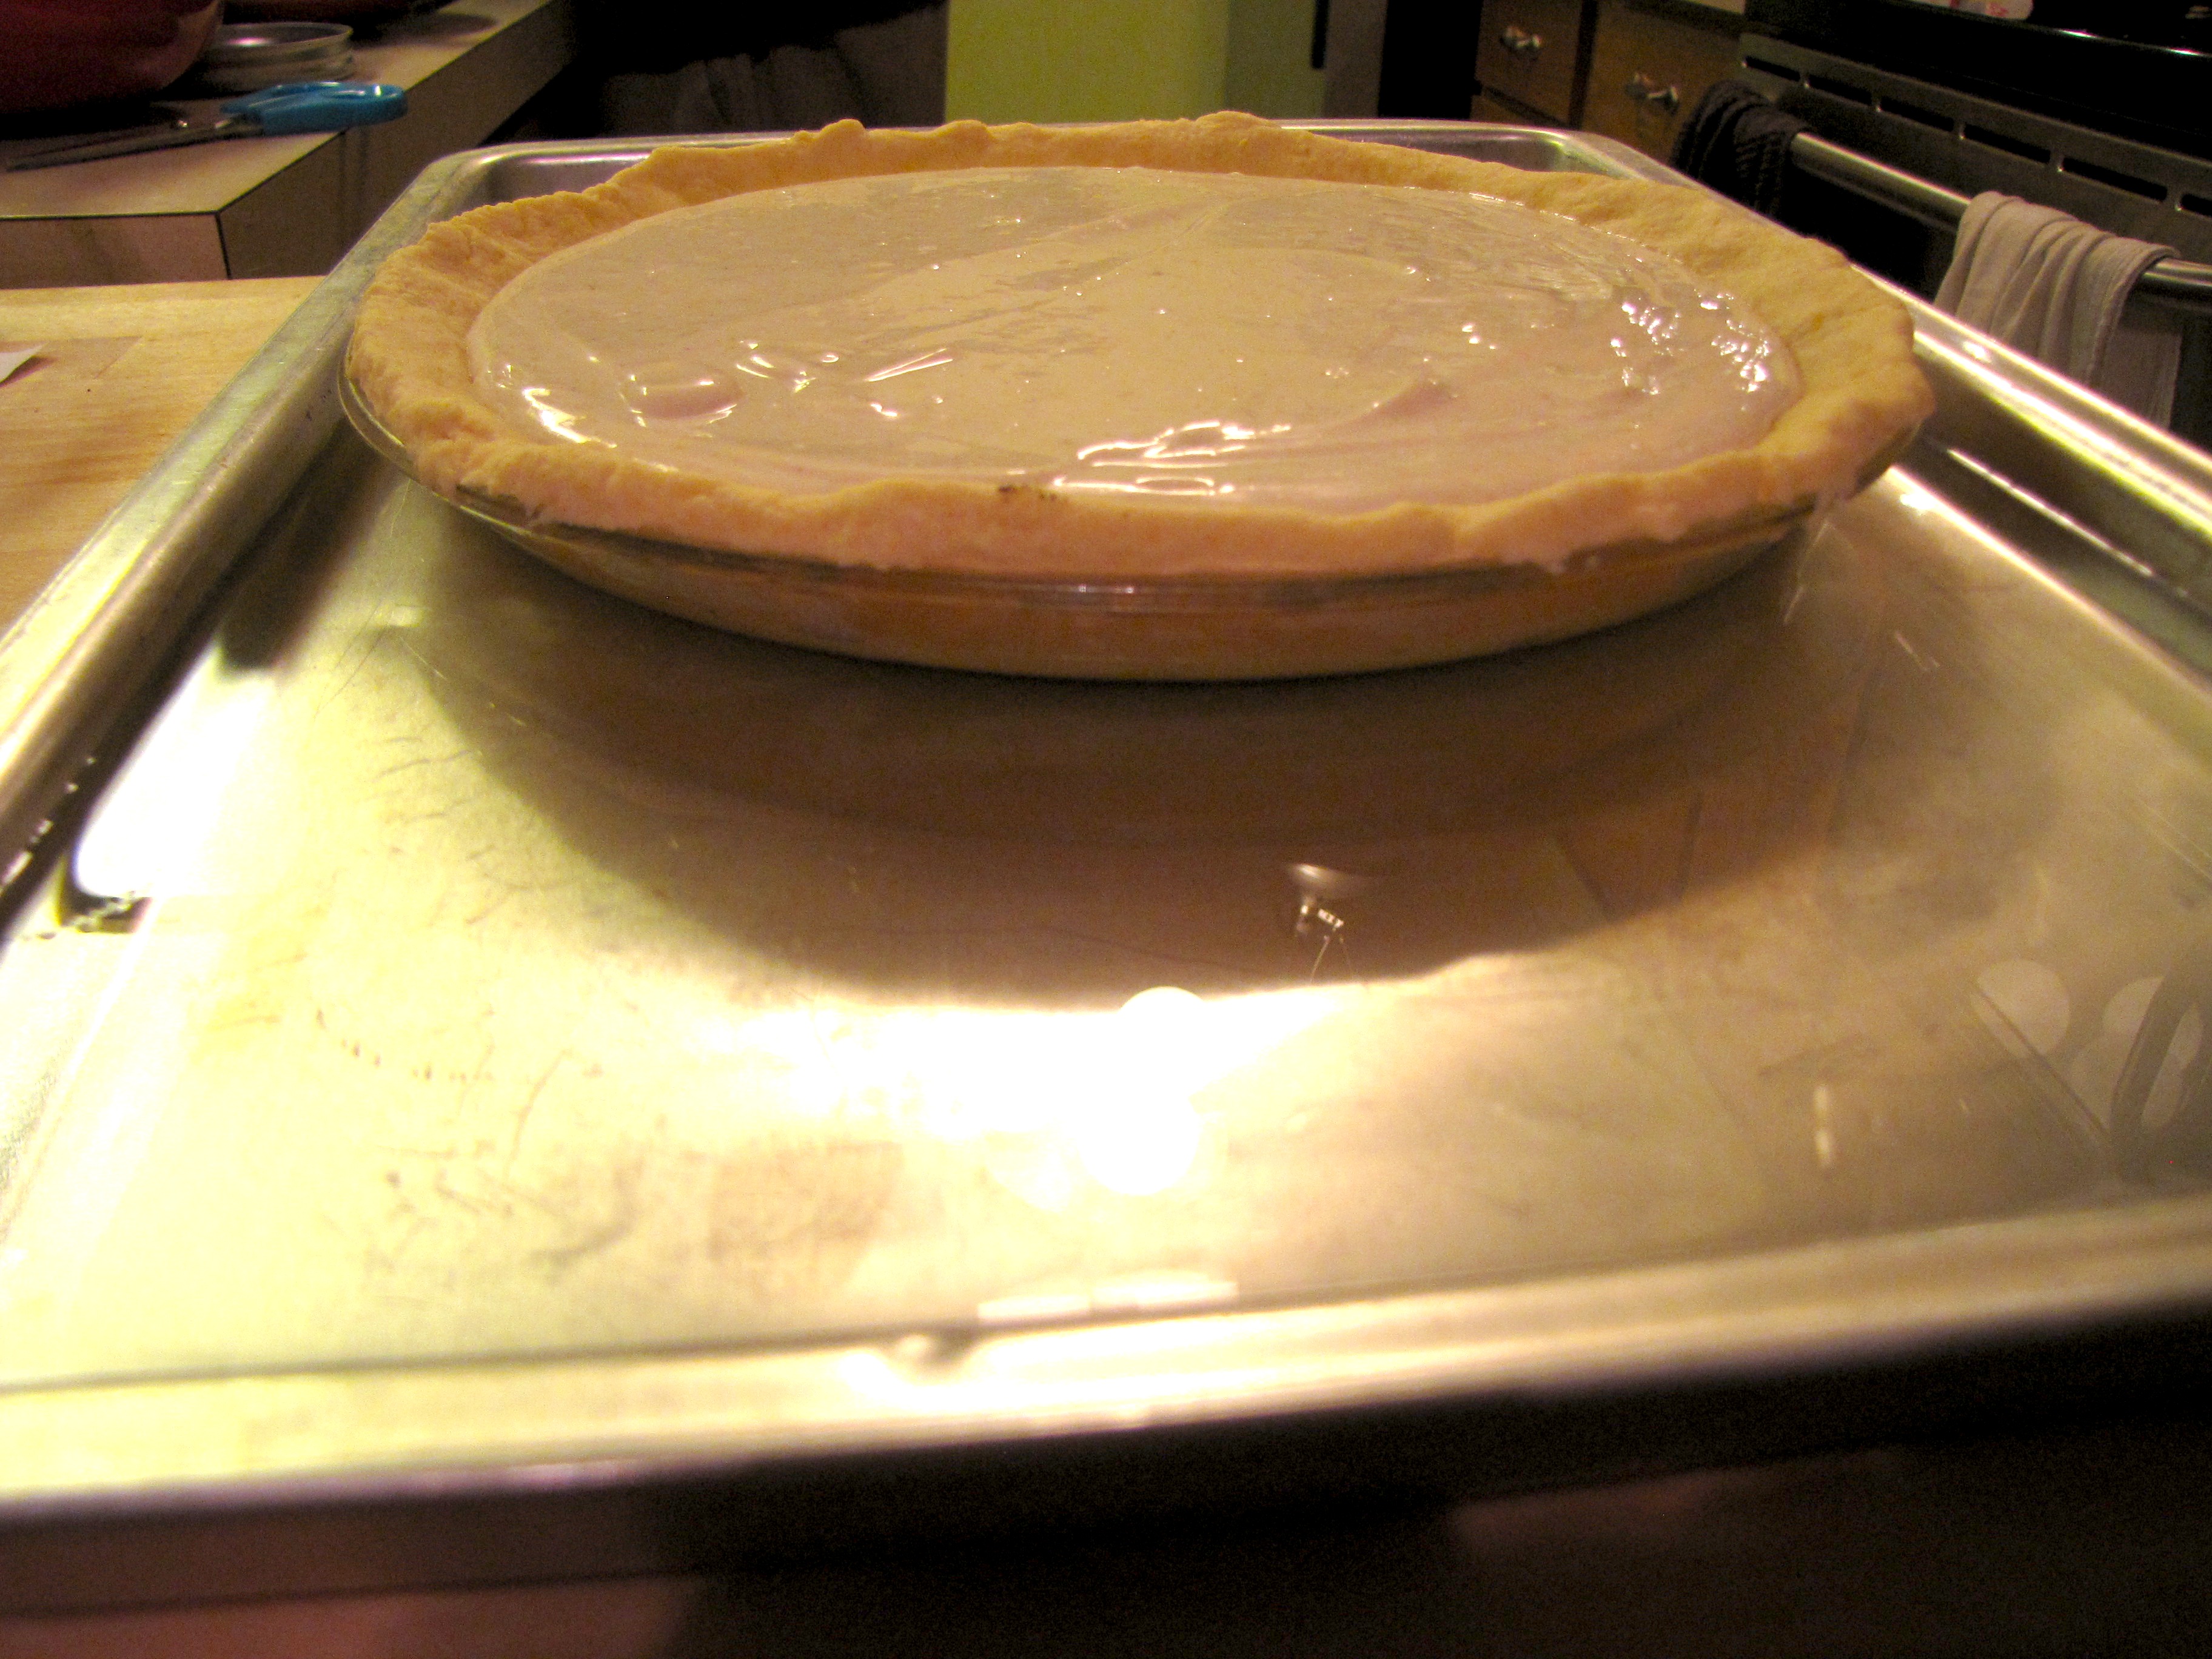
See, it’s not scary at all. It can be a pain to get into the oven, depending on how tall the sides of your pan are, but otherwise it’s a cinch. A word of advice, however- if you’re using a springform pan, wrap the bottom and sides with a couple of pieces of tin foil. This keeps any water leaking disasters from happening to your goods.
Here is the recipe for this beauty. It’s not really hard, but it does have a handful of steps that require wait time between each step. And it has a long cool time. I would suggest making this pie the day before you need it so it has time to set up and you don’t feel rushed.
Strawberry Lemonade Cheesepie (from 100 Best Vegan Baking Recipes)
Prep time before baking: 45 minutes
Skill level: 4 whisks
½ Basic Pie Crust recipe (recipe can be found here)
1- 8 oz. container vegan cream cheese
½ cup plus 2 tbsp. yogurt (equivalent to 1- 6 oz. container)
1 aseptic container firm silken tofu (Mori-Nu)
1 cup sugar
1 teas. vanilla
2 tbsp lemon juice
1 teas. lemon zest (*note, if you like a very strong lemony flavor, double the amount of juice and zest)
Strawberry Topping:
¼ cup sugar
1 tbsp. cornstarch
1 1/4 cups strawberries, fresh or frozen, chopped
¼ cup water
Preheat oven to 350. Roll out pie crust and fit to a 9 inch pie dish. Trim edges and crimp. Use pie weights or dried beans on top of parchment to weigh down the crust and bake crust for 10 minutes. Remove from oven and let cool.
Combine cream cheese, yogurt, tofu and sugar in a food processor or blender until smooth, scraping down sides as needed. Add vanilla, lemon juice and zest until incorporated. Pour mixture into pie crust.
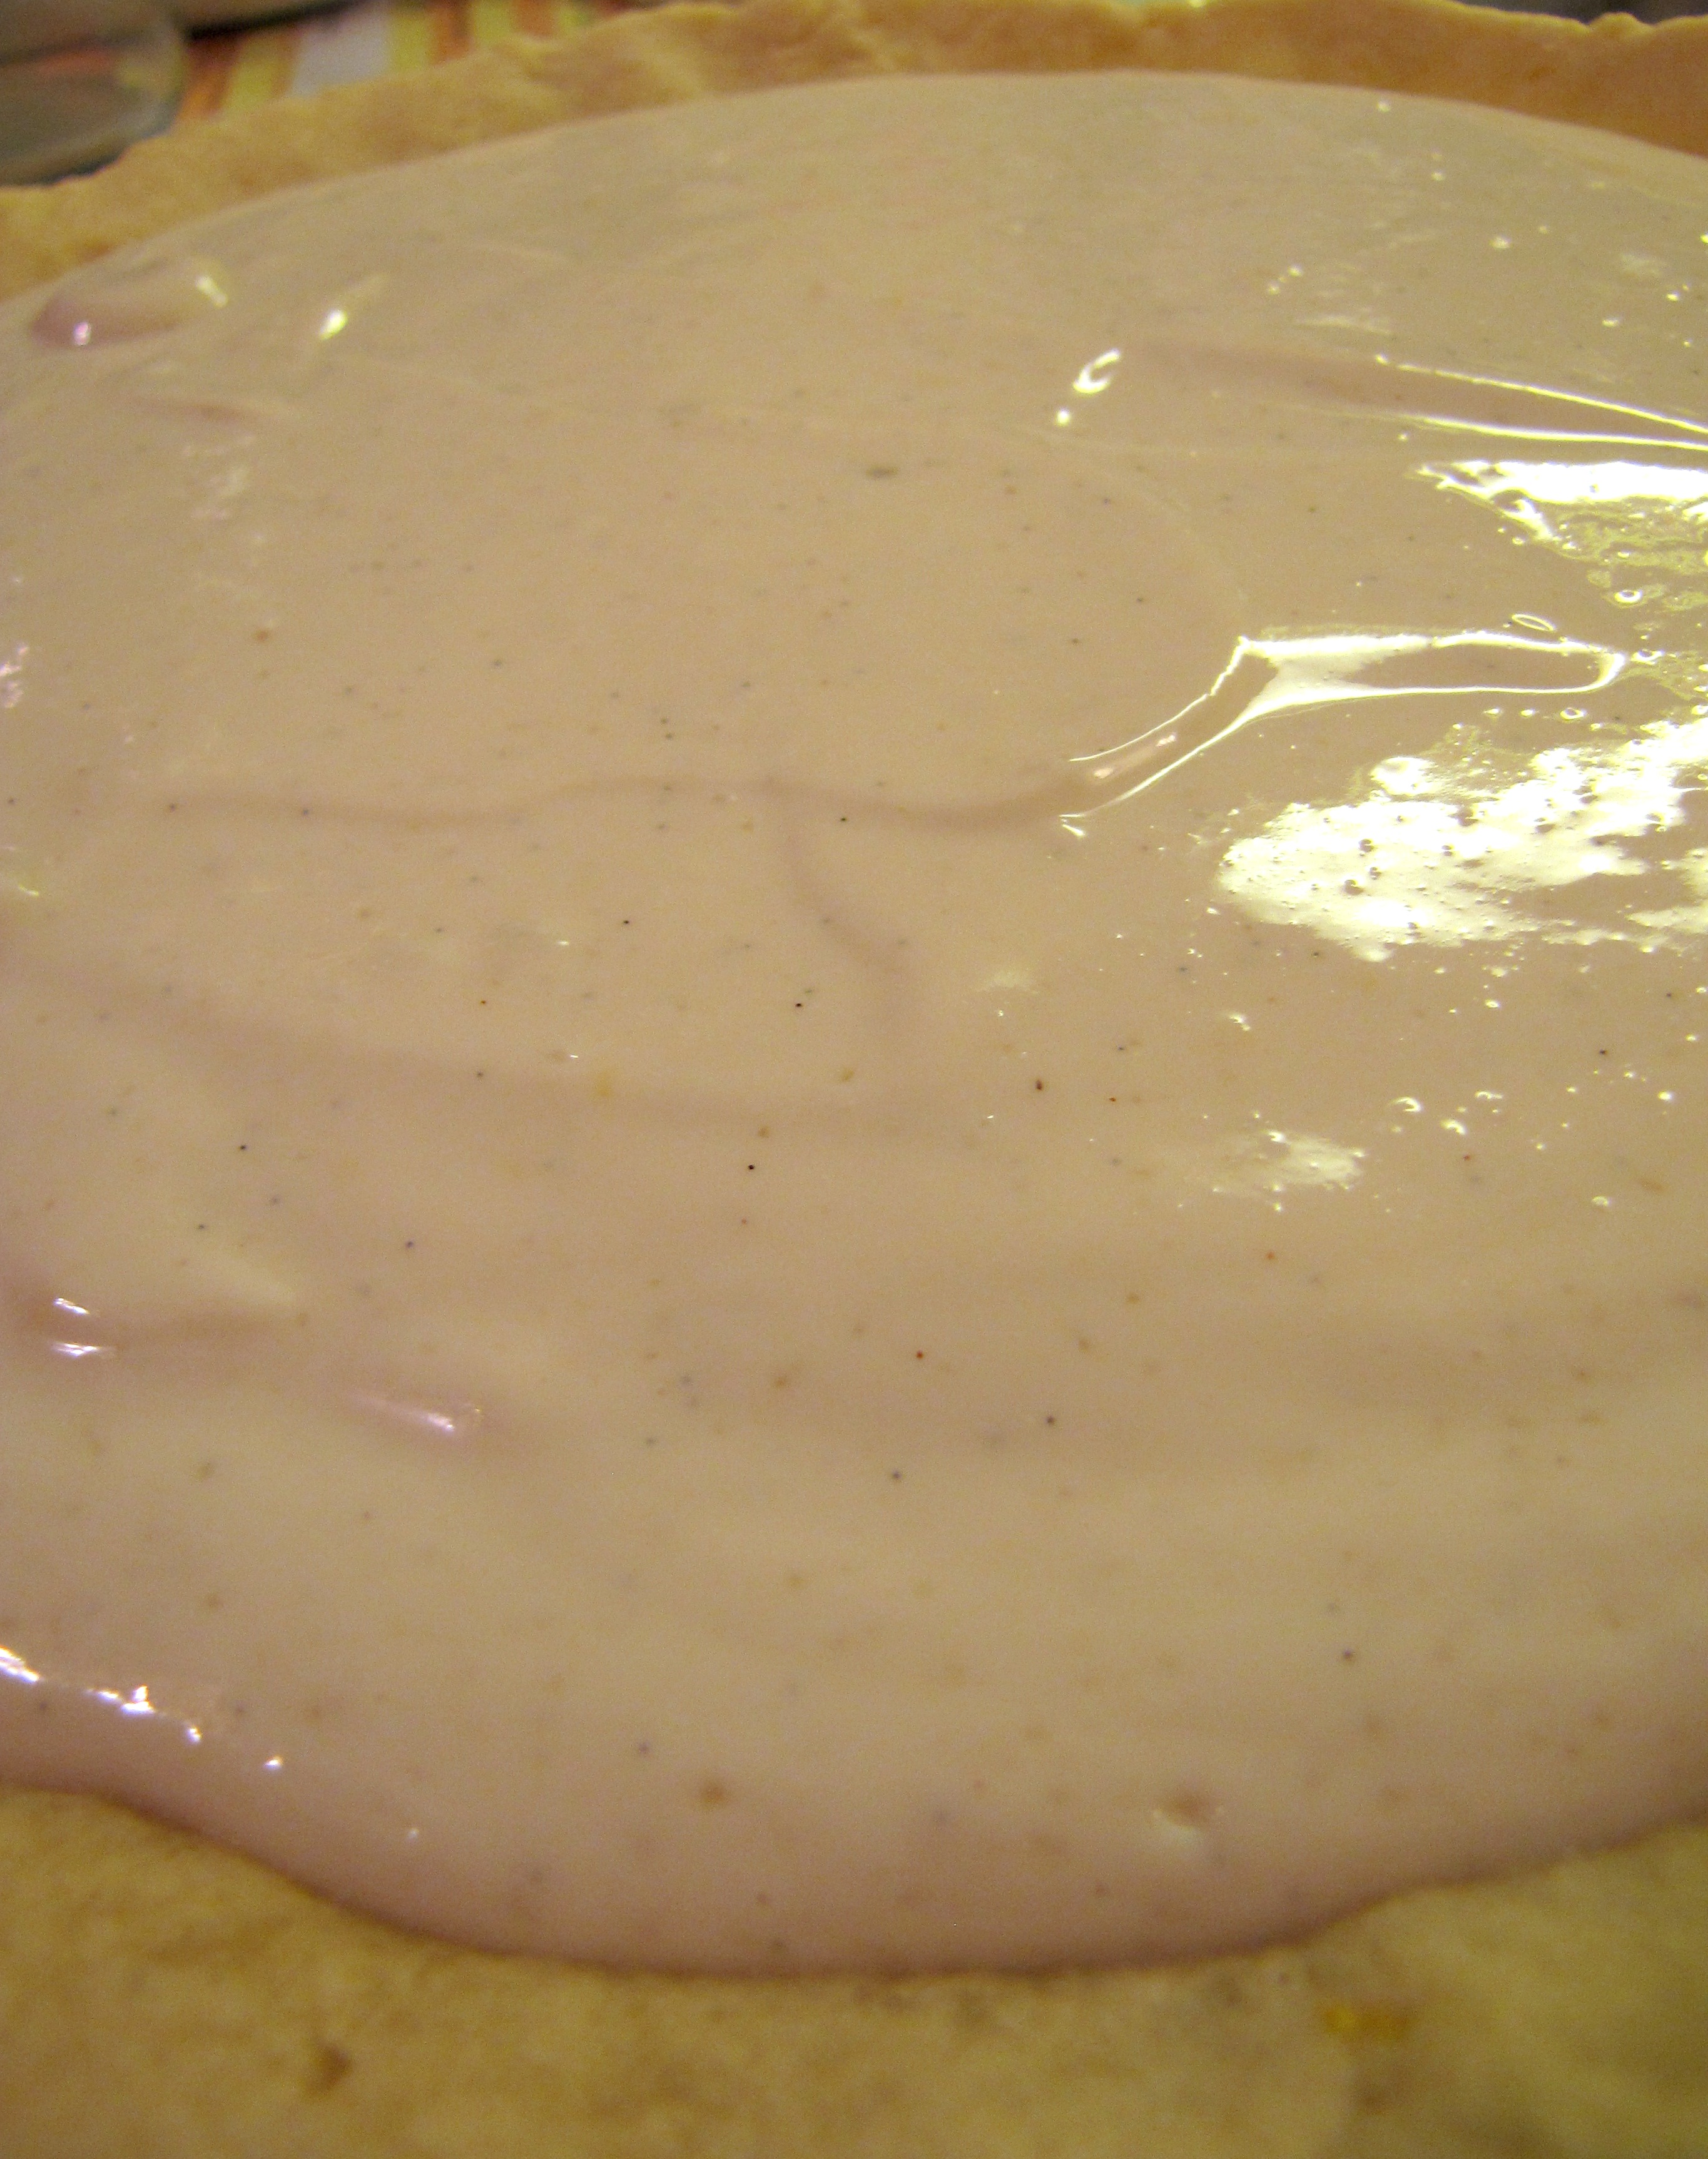
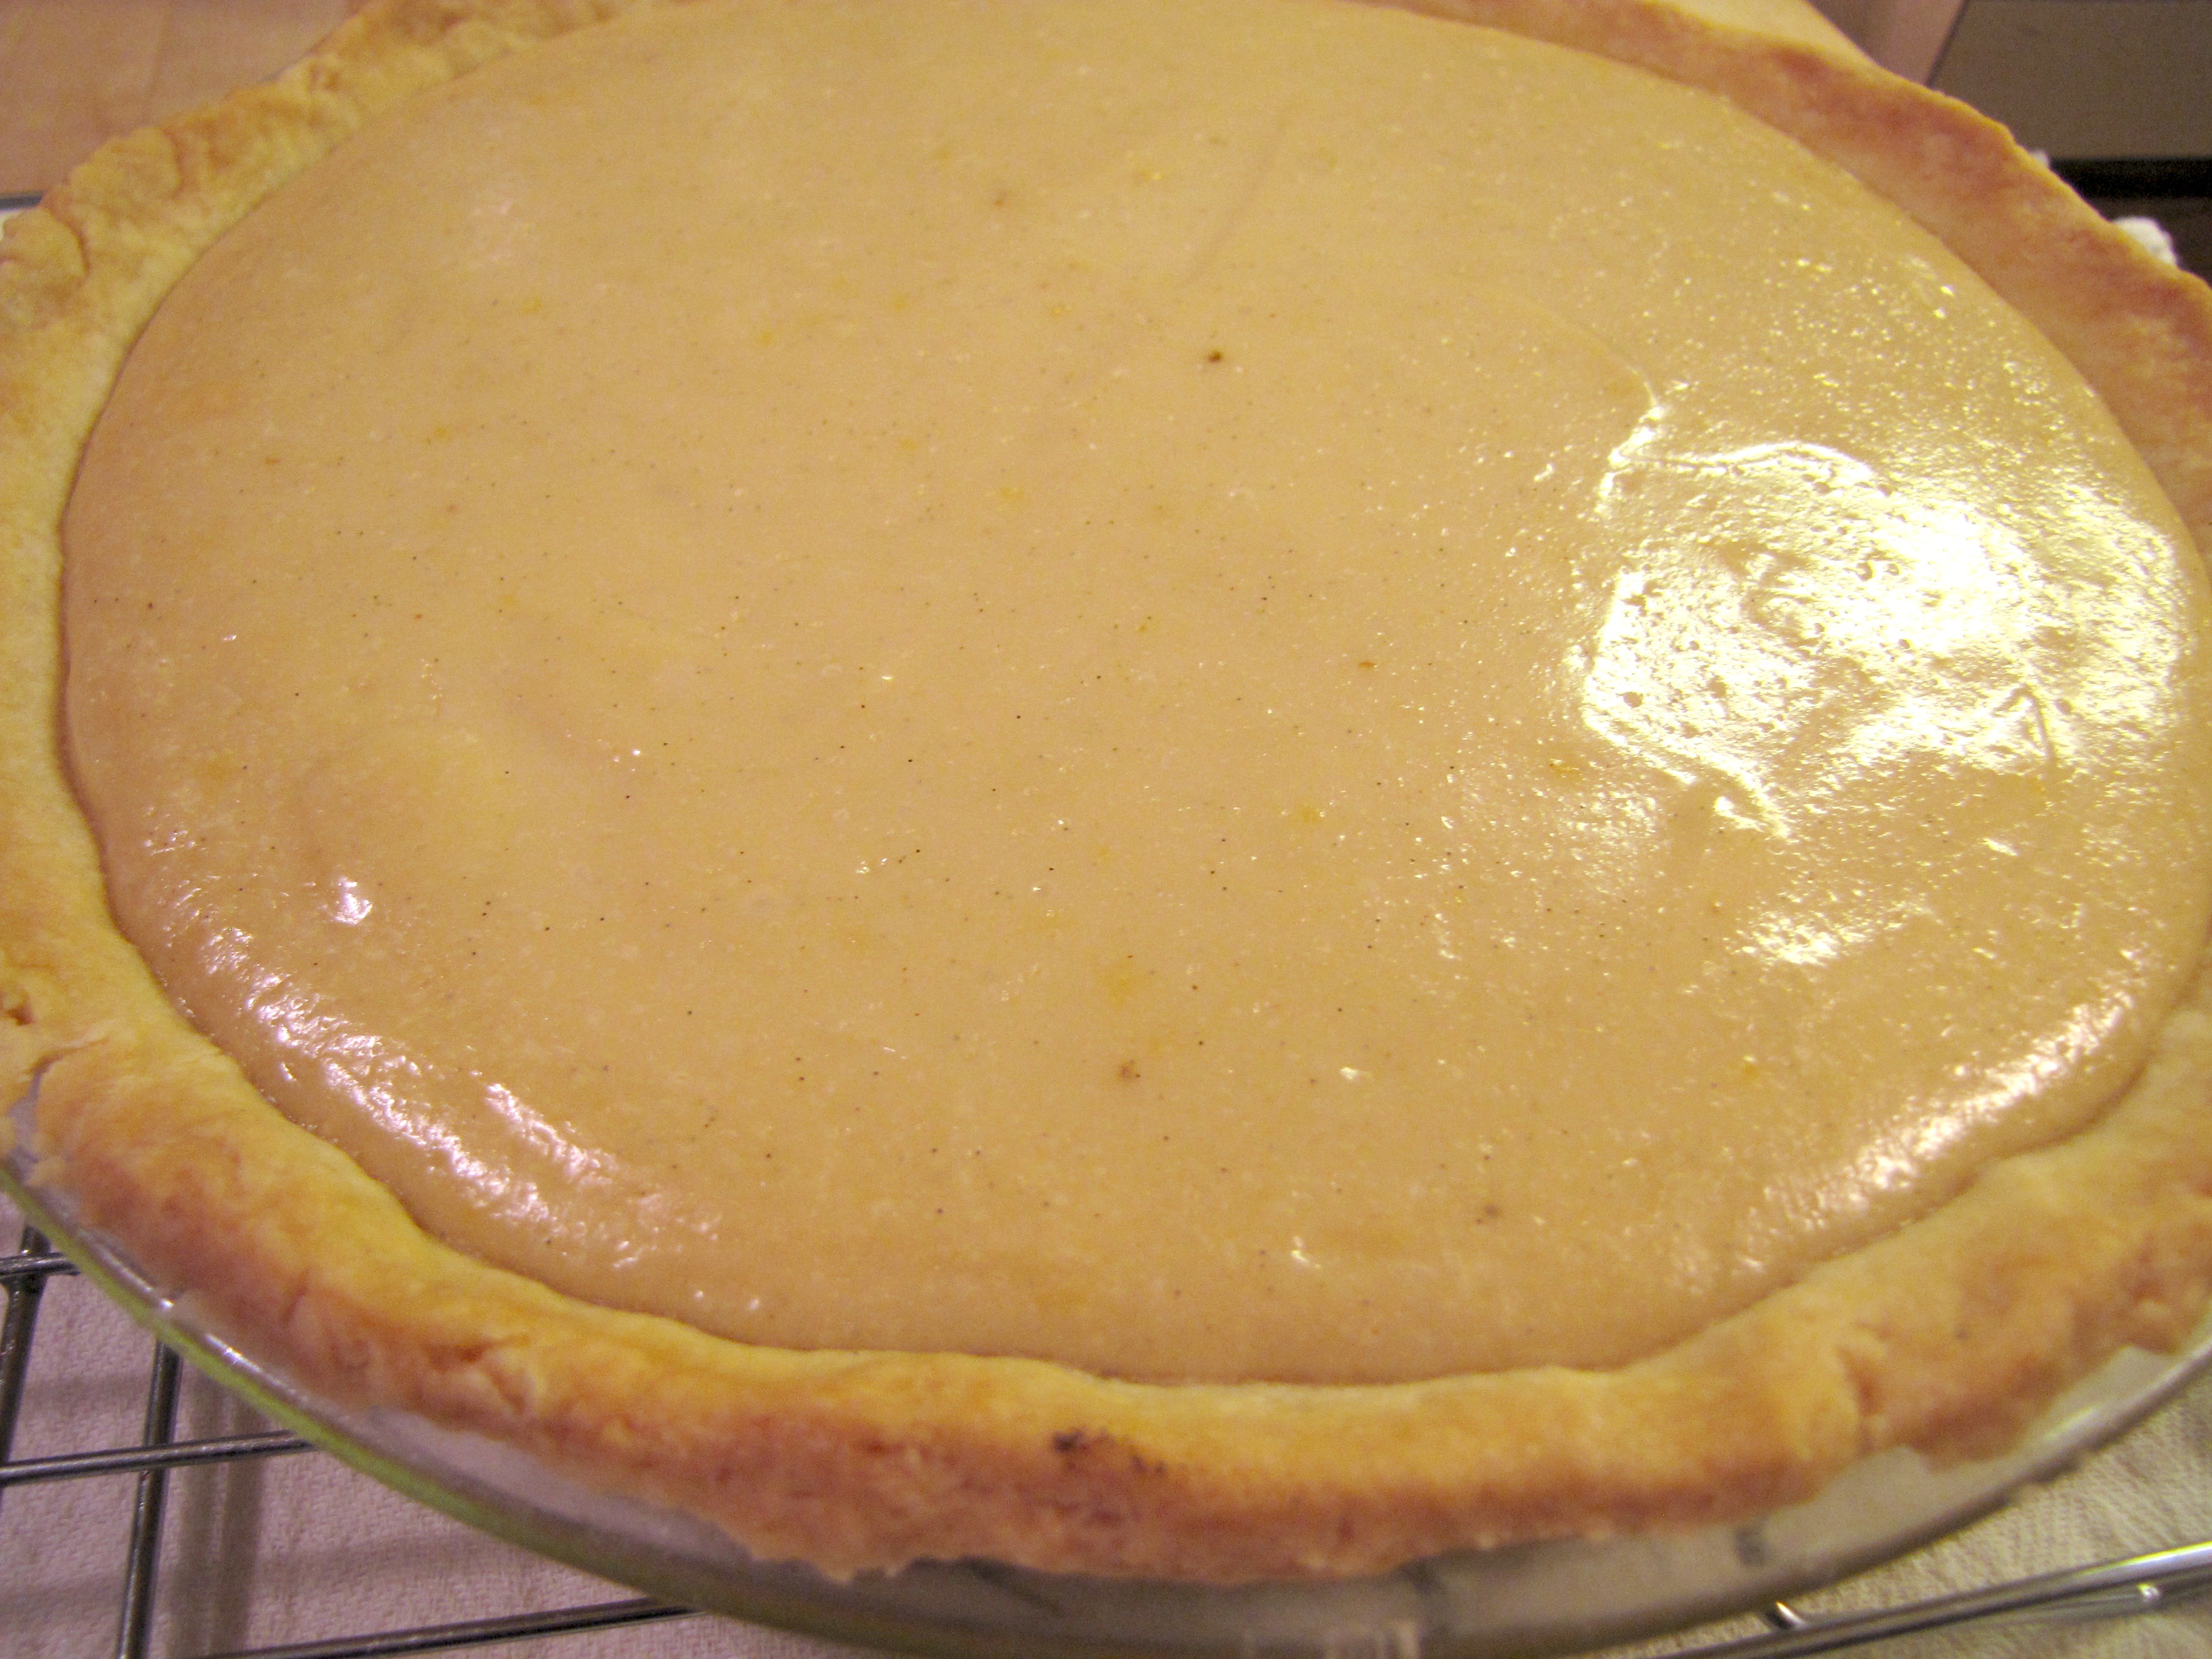
Place pie dish in a larger cookie sheet with high sides. Add enough warm water to the cookie come up to the middle of the outside of the pie dish. This is called a water bath and will keep your pie from cracking, as well as keep it creamy without it getting a skin. If water evaporates while baking, add more water as needed, but only hot water so you do not shock your bake ware and risk it cracking.
Bake pie for 1 hour. Center may not look completely set, but will firm up while cooling. Remove from oven and remove from water bath to cool on cooling rack.
While pie is baking, prepare strawberry topping. In a saucepan, combine sugar and cornstarch. Add strawberries and water and mix to combine. Over medium-high heat bring to a boil, continuously stirring. Once it reaches boiling, lower to medium. Cook until strawberries get soft and mixture thickens, about 5-10 minutes. Remove from heat. Let topping cool completely, occasionally stirring to keep a skin from forming.
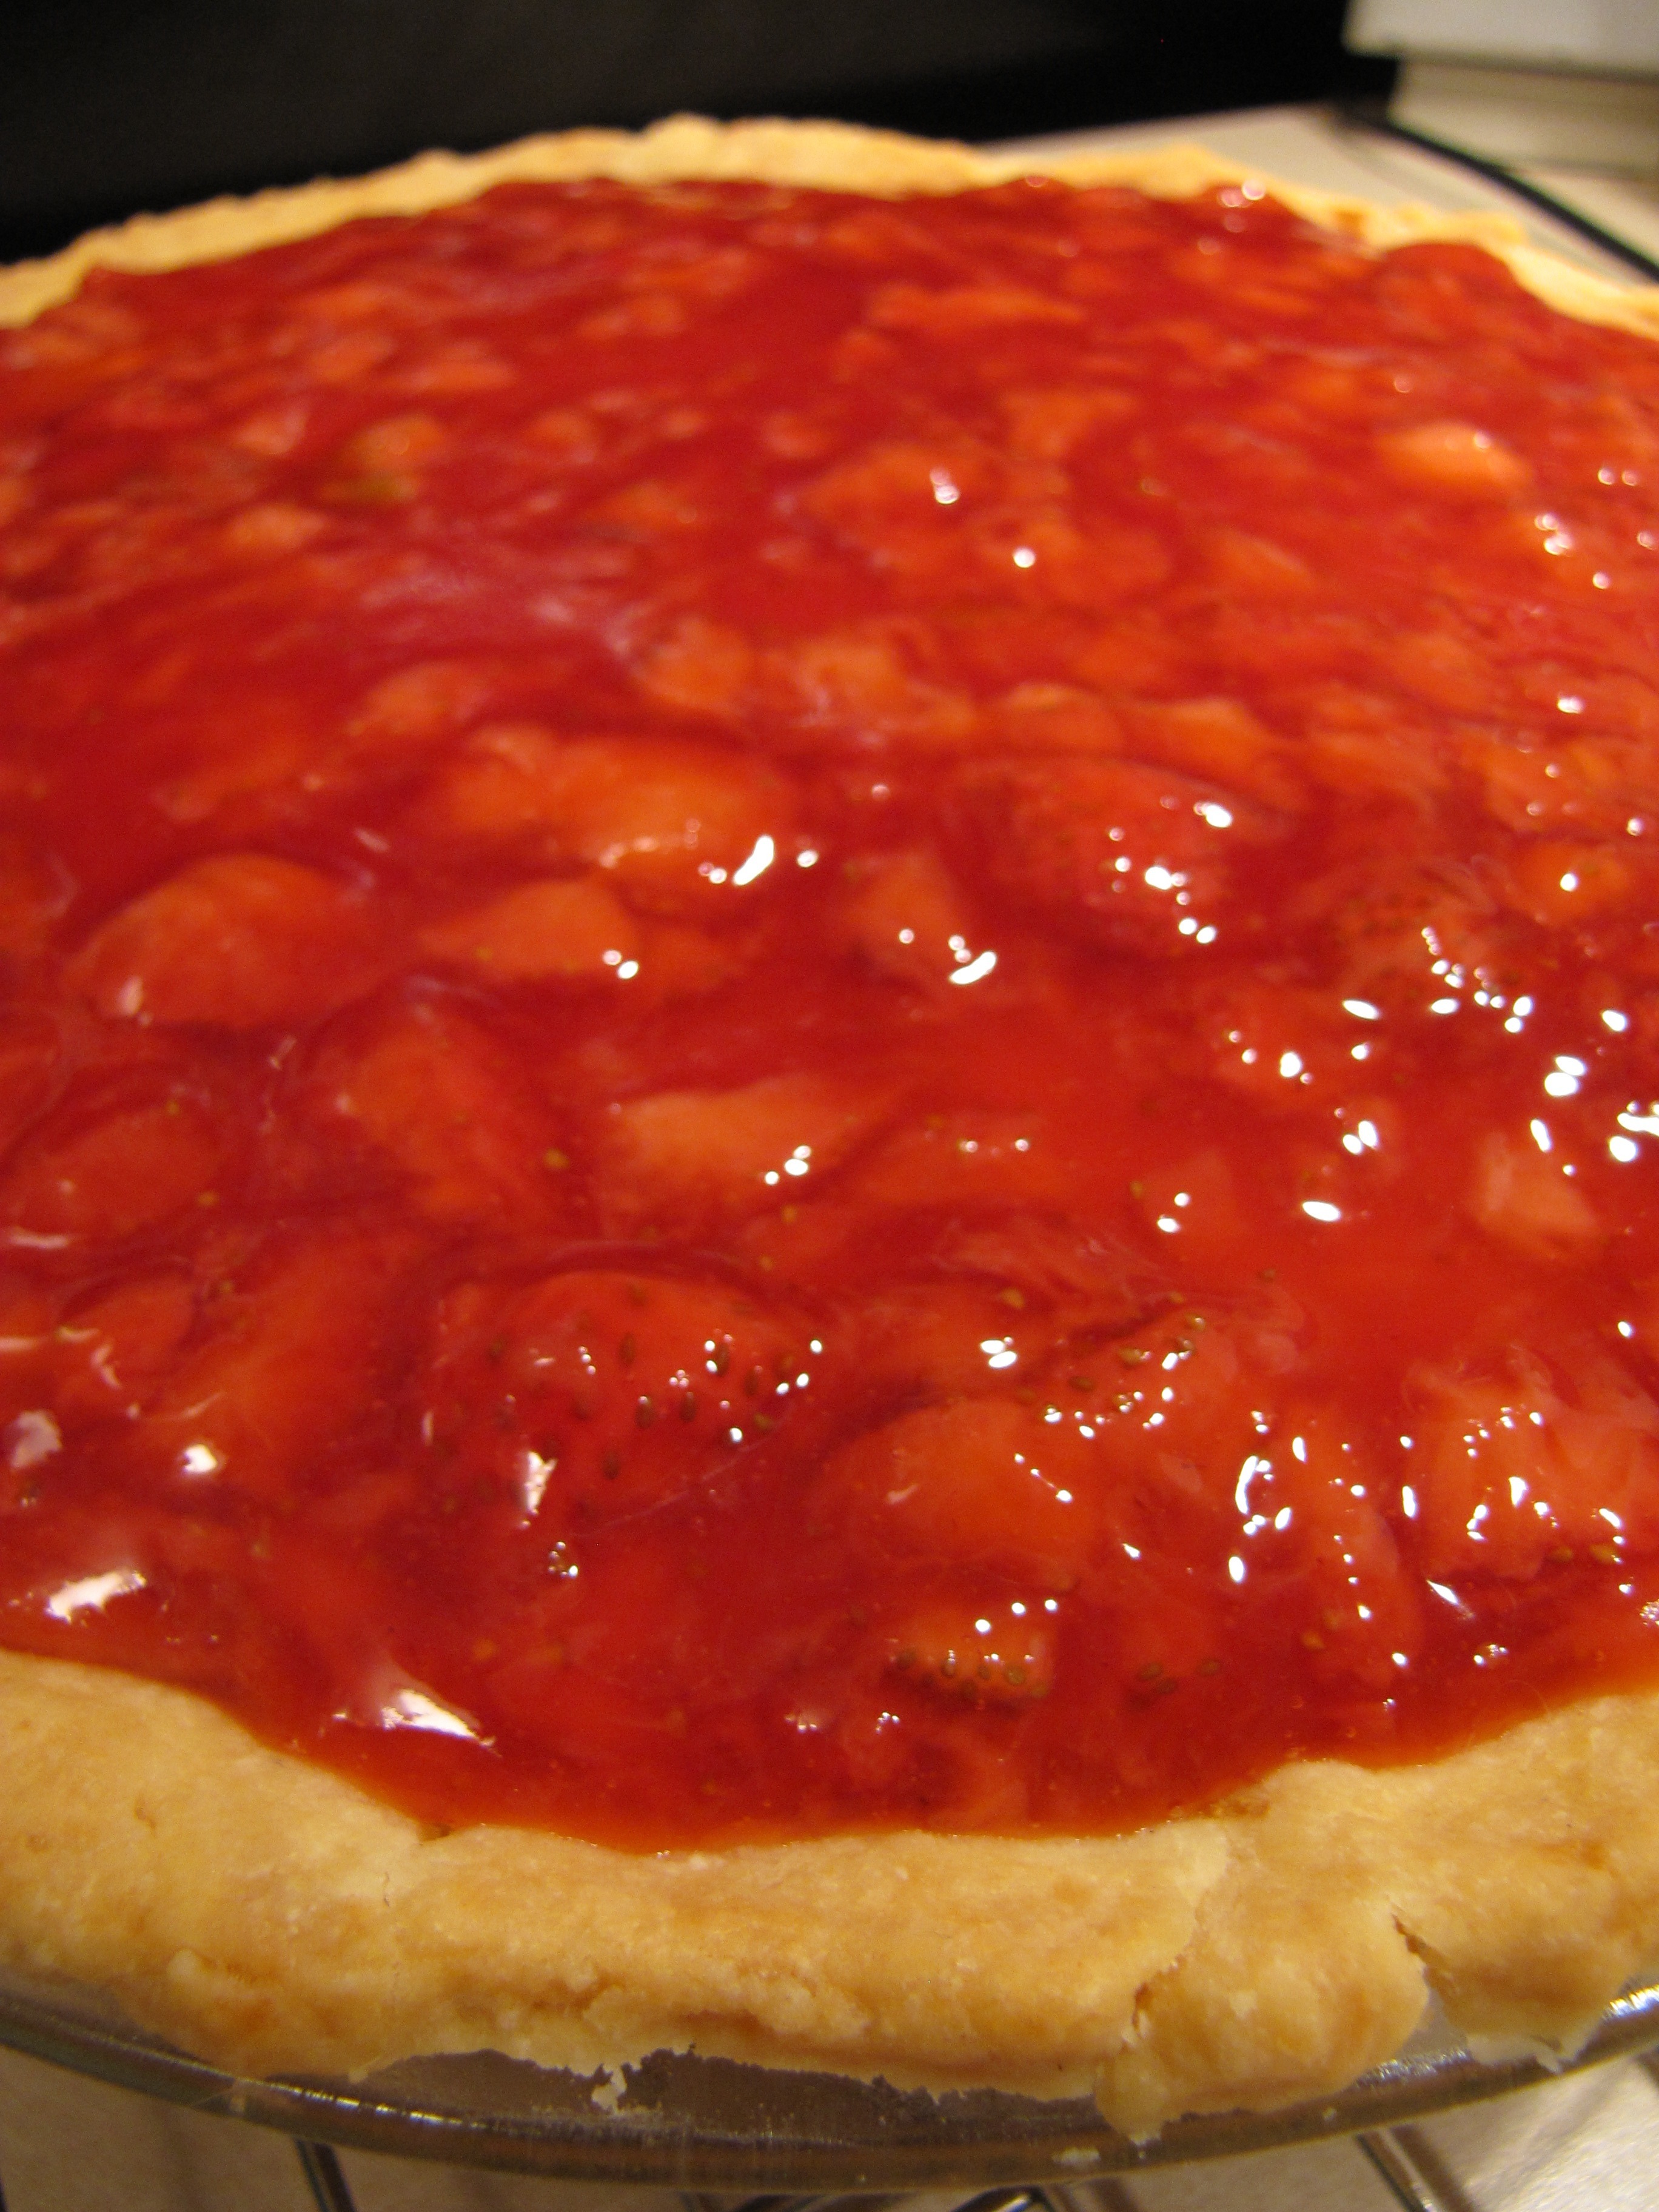
Spread cooled strawberry topping on to cooled cheesepie. Let set in fridge for at least 2 hours before serving. Store leftover pie covered, in fridge.
Yields: 12 slices
10 Responses to cheeze pah
Cookbook Pictures!
Archives
Squirrel’s Vegan Kitchen
Go back in time to my original blog: Squirrel's Vegan Kitchen!Tags
21.5.800 baking banana beans berries birthday breakfast brownies cakes canning chocolate cookbook cookies cooking cooking show cupcakes give away gluten free greens harry potter health holiday baking holiday meals kittehs muffins nostalgia nuts oatmeal peanut butter pie pumpkin quick eats quinoa real food recipe resolutions review soup summer TJs treat of the week vegan mofo vegan mofo 2009 video vita-mixCategories




This looks delightful! Do you think it would it be possible to make this in a tart pan… so you’d end up with cheesepie-tart-bite-size things?
I totally think that would work. Depending on the size of your pan (if it’s wider than 9 inches) it will make the filling less dense, you might need to monitor the baking a little more carefully as it may take less than 1 hour. Yum! I think I’ll make it in my tart pan next time!
If you put your pan on the oven rack and then pour in the water it’s a lot easier! Thank Martha for that tip!!
Ah Martha. I actually have an upcoming post dedicated to her.
I have always skipped over recipes requiring a water bath because…well, I don’t really know why! You have inspired me to give it a try with this recipe!
Question, though–I am not a huge fan of pie crust…all I care about is the filling! Do you think I could make a crustless one?! Just put the filling in the pie pan and bake away?!
Thanks!
Courtney
This pie is so creamy, I don’t think it would work without a crust, you’d end up scooping it out. You could easily adapt this pie to a premade graham cracker crust, though. In the book, the Kahlua Pie works without a crust and you could also make the Pumpkin Cinnamon Swirl Cheesecake without a crust.
Darn! But thanks, Kris, for letting me know!
Courtney
Mmmmm I want! I want!!!
Congratulations on your book signing! Your vegan cheese “pah” looks sinfully sweet and silky smooth. Great idea from Virginia to do these as tart size treats. Sounds like a tea party is in order.
Just finished making this and left it overnight to set. It tasted DELICIOUS, however, it was more pudding like than expected. I thought that it would firm up more than it did, but this morning when I dug into it (yes…for breakfast), I realized how the overnight ‘setting’ routine may not have mattered in regards to the consistency. It may have also been because I chose to use a graham cracker crust, versus a pie crust. I also reduced the amount of sugar (but only slightly). Even still, the flavors were delicious, and it was well worth the extra money spent on the vegan cream cheese, and yogurt.