jam on parade!
Okay, this has been long in the making, but summer’s been keeping me a little occupied.
So, two things for this post:
1. Jam! I’m made a little photo tutorial on how to make jam. I swear, it’s not hard. A little time consuming, yes. But once you have your elements prepared and ready to go, it’s very straightforward. And after you’ve made jam once or twice you’ll be cranking out jars like you’re a machine. Now that I have my own pattern down, I can make a batch of jam, start to finish, in about 2 1/2 hours. Not too shabby.
2. I’m going to give this whole online community thing a whirl. I started a very interactive forum for nom! nom! nom!. It’s pretty sweet, it has the traditional forum bits with threads, but you make a profile that’s more in depth, kind of like Facebook. Plus, it’s got a real-time chat room integrated in it! So, I hope to see you on there. 
Okay, so on to the jam. This jam is one of my favorites that’s I’ve made (and I’m up to 9 different kinds, yikes!). It is a mixture of marionberries (a NW varietal similar to blackberries), blueberries and plum. You could easily substitute other berries to make up the difference. I have a hard time coming up with fun names for my recipes, so I am pretty pleased with myself with this one.
Marion’s Plum Mad About Blueberry Jam
yields 6-7 half pint (8 oz) jars
3 cups plums, washed chopped and pitted
3 cups marionberries, washed
3 cups blueberries
4 cups sugar
juice from 1 lemon
2 tbsp. pectin
To start off the jam making process, I first prepare my jars. This means that I wash and sterilize them. You can do this in a number of ways. You can hand wash them and then simmer them in hot water, you can wash them and place them, mouths up, on a baking sheet in a 150 degree oven or you can wash them in a dishwasher and leave it on the hot air drying setting. It’s really up to you. This serves multiple purposes. First off, you are cleaning the jars (obviously), but you are also keeping them warm and sanitary so your hot jam isn’t shocking a cold glass jar. Canning jars are tempered, but keeping them warm is important.
There is also a school of thought that if you are going to use a hot water bath to seal the jars and you will be boiling them for at least 10 minutes, the jars only need to be washed, but not sterilized. I know this is what many of our grandmothers did, but I’m a perpetual worry-wort, so I sterilize and hot water bathe them.
Anyway, I usually wash them and simmer them in my hot water canning pot. This way, the water is nice and hot, so once the jars are prepared and filled with the jam, it doesn’t take long to bring it to a boil to process them.
Let’s take inventory of the tools you need:
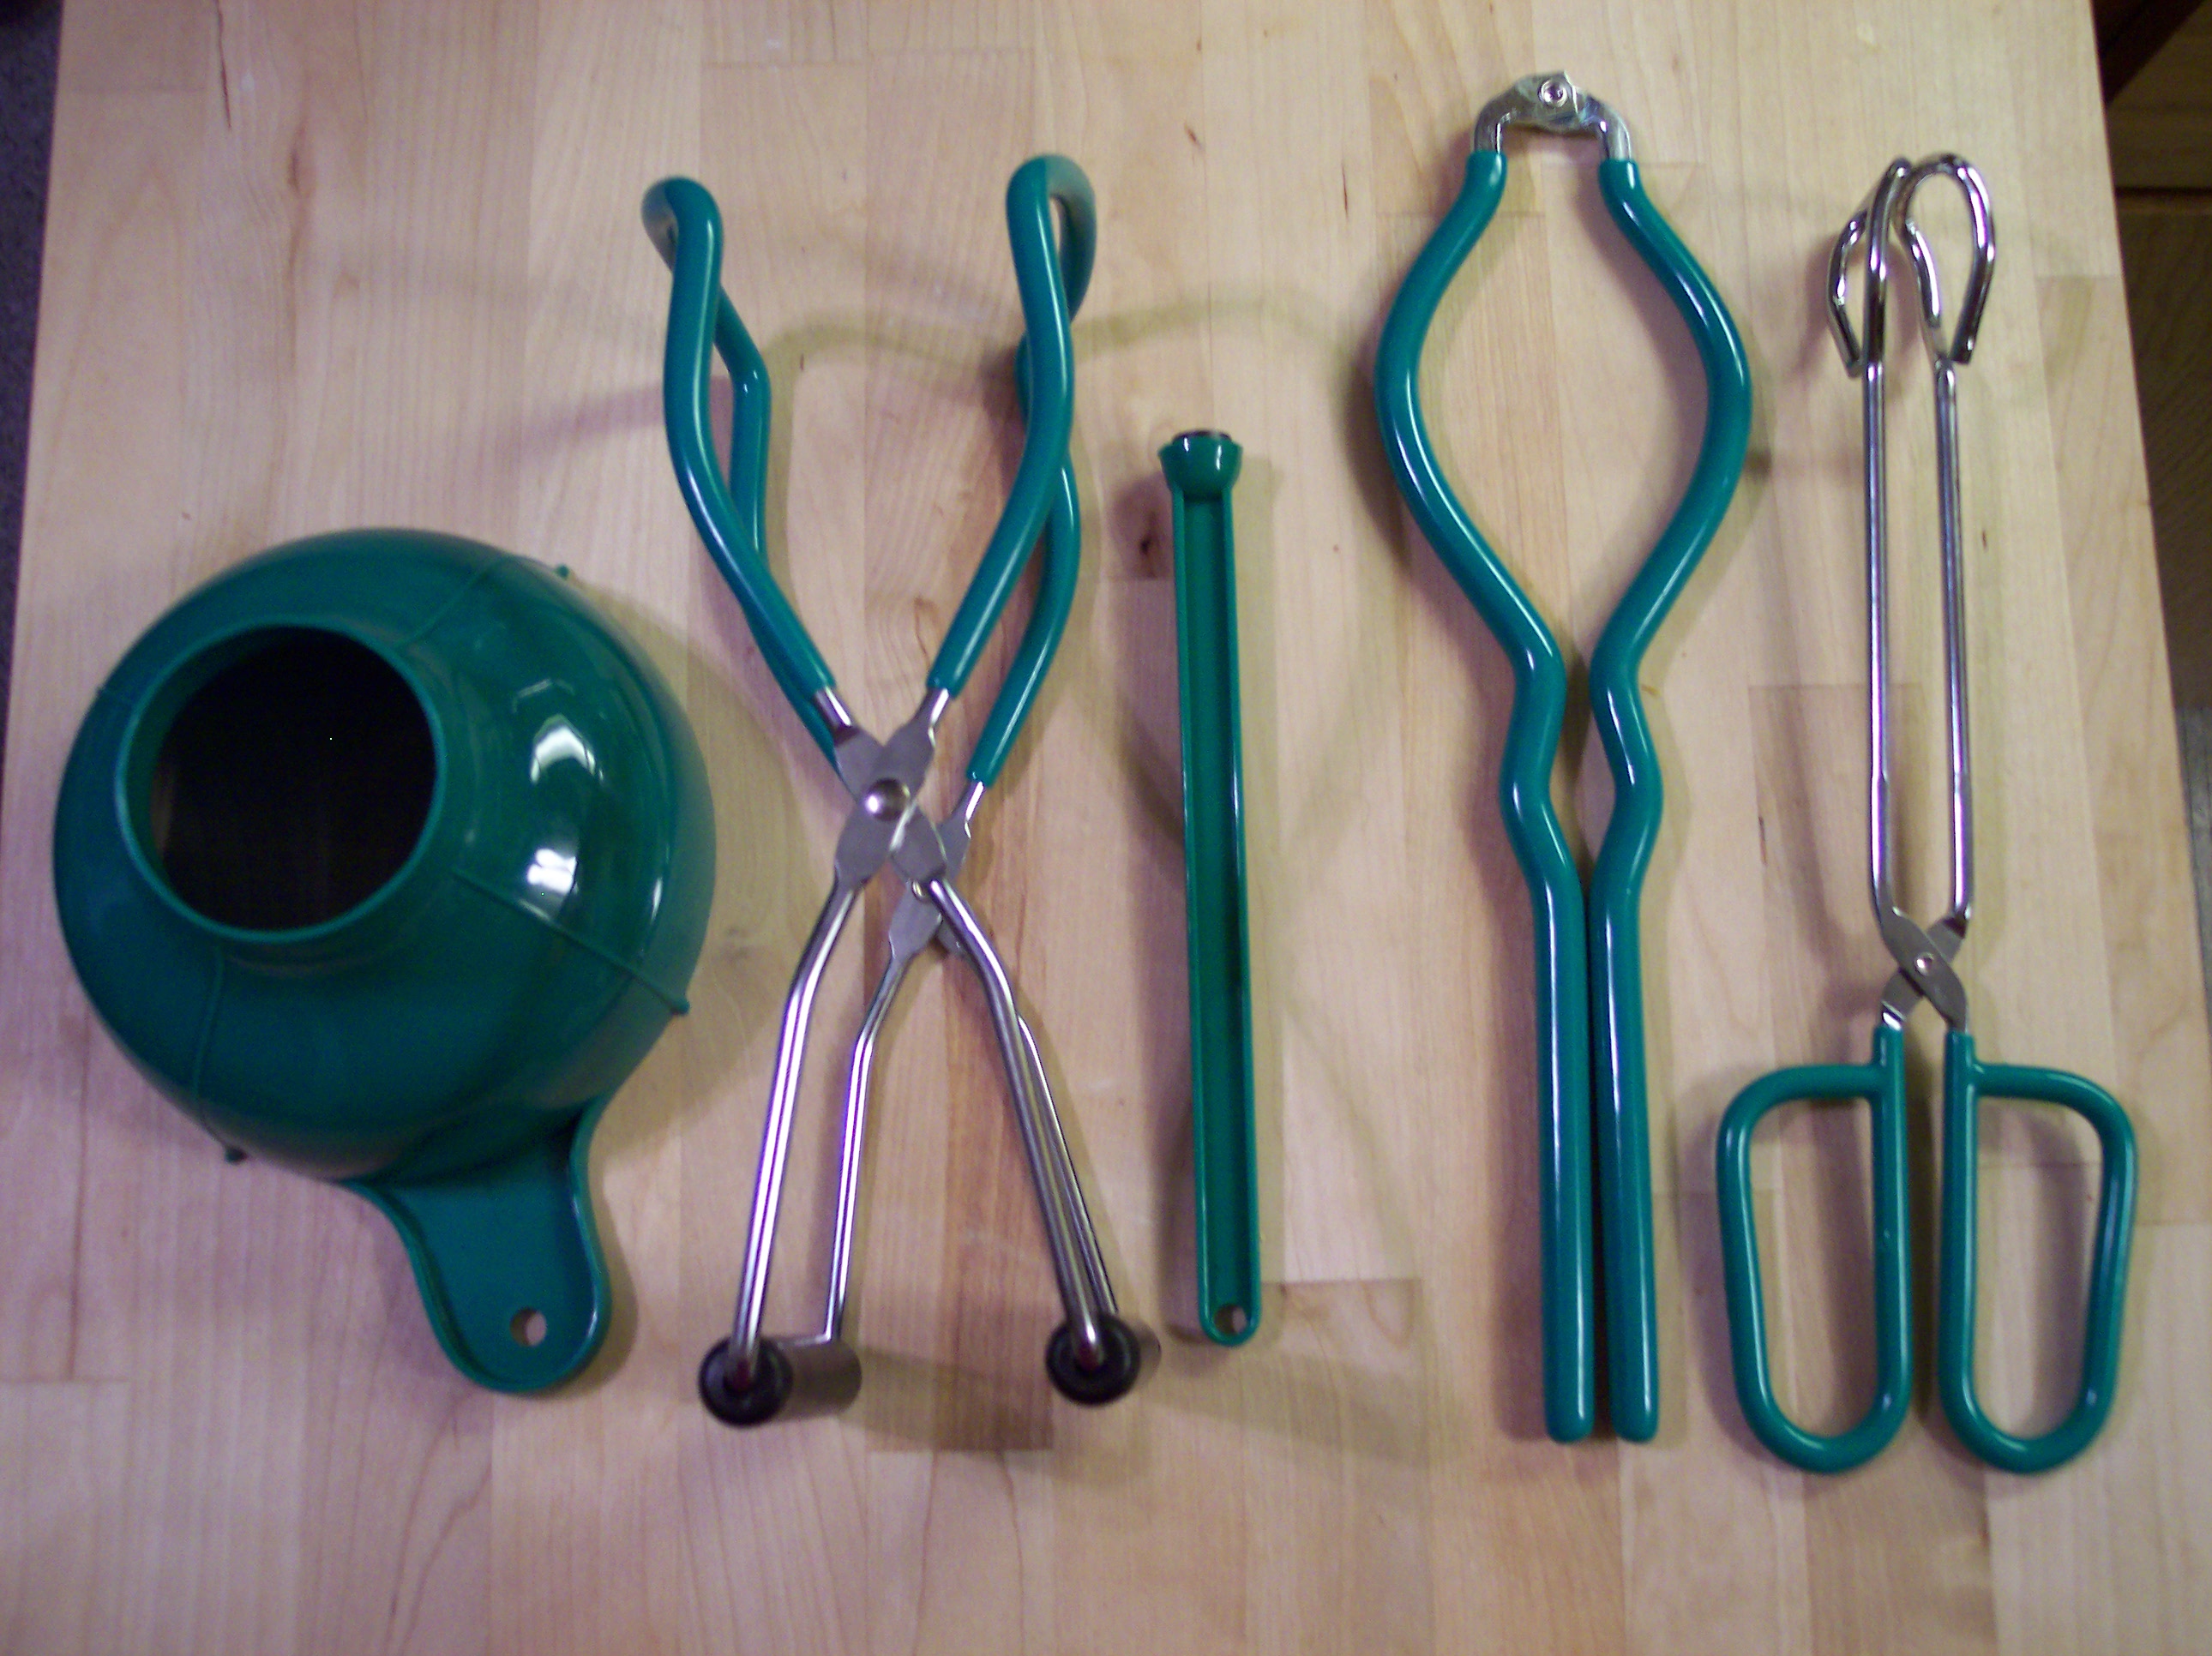
This is a basic canning tool set. You need this in addition to a hot water bath pot. I picked up these tools and my pot for about $30 3 years ago. From left to right you have your funnel (to pour your jam into each jar without making a mess), your jar lifter (to lift the jars in and out of the hot water bath safely), your magnet (to lift the sterilized lids out of their pot), a jar vice thingy (not necessary, but helpful to hold onto a hot jar while screwing the ring on over the lid, and tongs (which serve many purposes). I usually configure my stove with a stockpot to make my jam, my hot water canner and a smaller saucepan to sterilize the lids and rings in.
Now, as a basic guideline, you can fit about 7 jars in a canner at a time. That’s 6 around the perimeter and 1 in the middle. If you’re using smaller jars (such as 4 oz. cuties) resist the urge to crowd them in there. Your jars should not touch inside the canner, or you risk the glass of the jars expanding and contracting against each other and cracking. Now that I’ve scared you, don’t worry. If you just put in 7 jars, you’ll be fine.
Another thing- make sure your jars don’t have any chips or cracks in them. Canning is very earth-friendly in that you can reuse jars and the metal screw rings over and over, but look for flaws in the glass and rust on the rings before using. You must buy new lids (just the flat metal part) each time you can, as they are single use for a safe seal.
Okay, so our jars are clean. Let’s chop up some fruit.
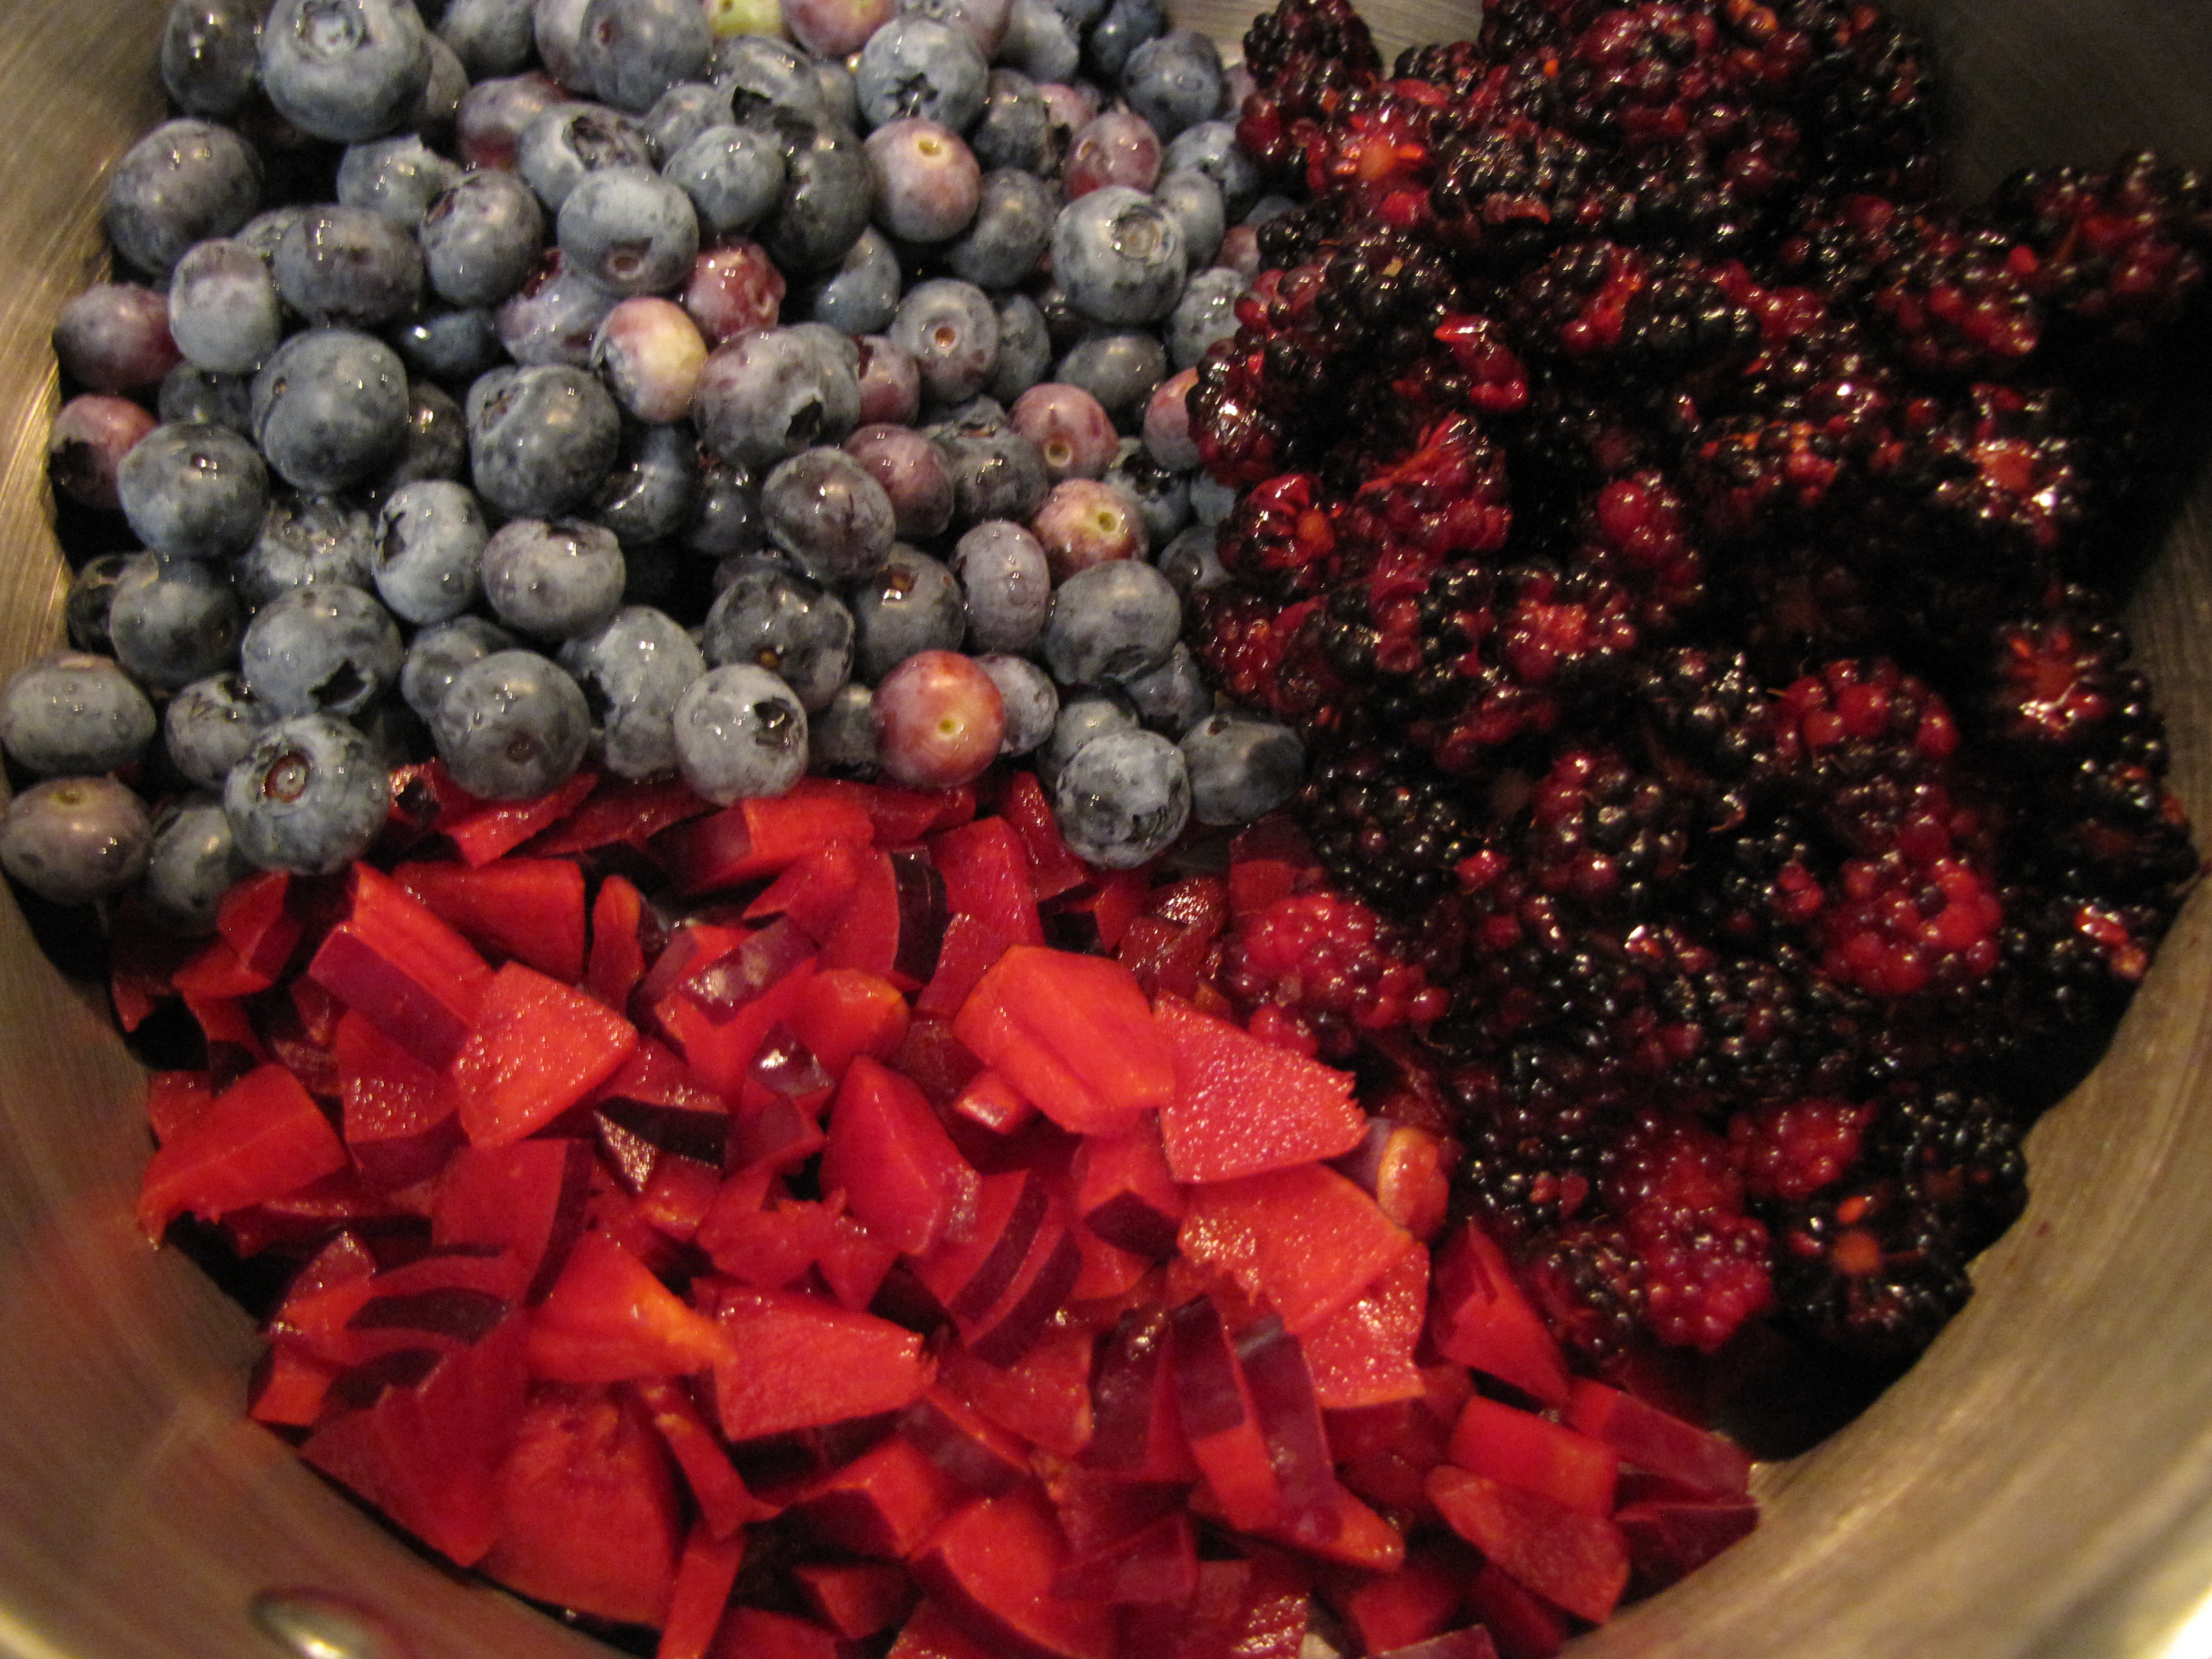
Here’s our beautiful fruit, sitting in the bottom of a large stockpot. The fruit will boil and foam up a bit, so make sure you use a pot with some space.
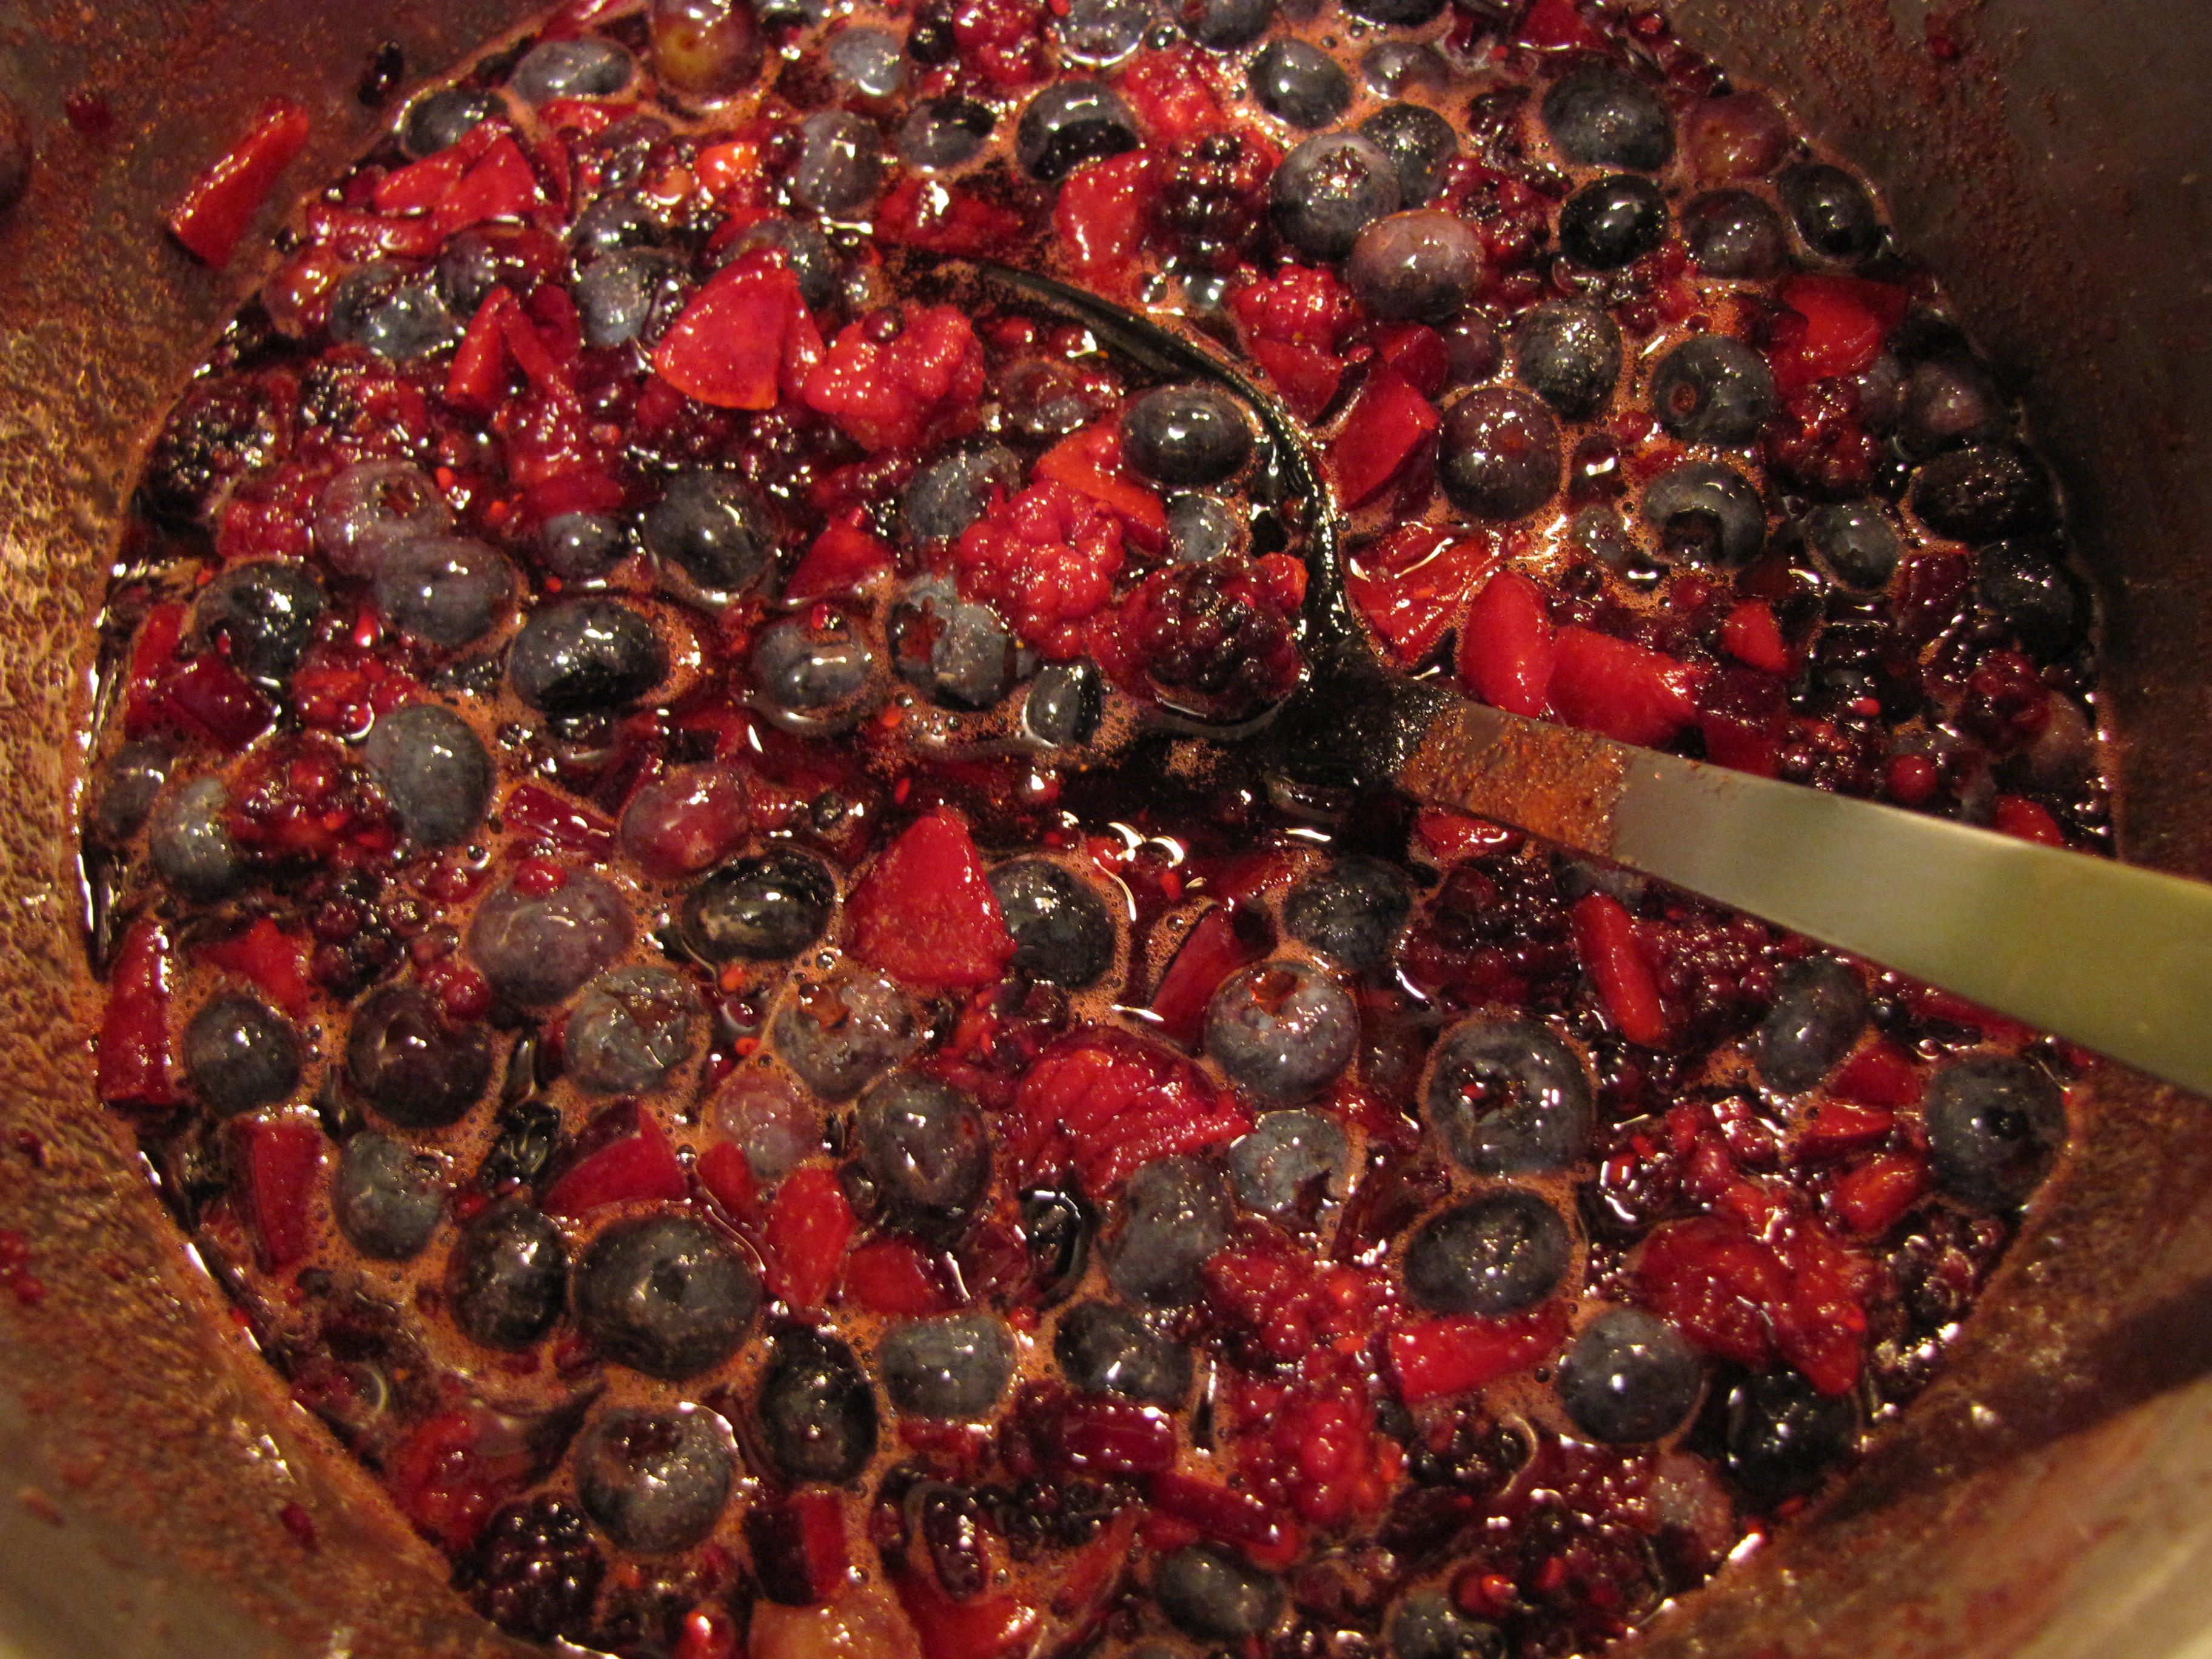
After adding the fruit, I add the sugar (reserving 1/2 cup) and the lemon juice, and cook over medium heat, stirring often. Once it comes to simmer I crush up the fruit, gently, with a potato masher. I like my jam chunky, so I don’t crush it up too much, but this is your call. By crushing up the fruit we also release some of the natural pectin in it, which interacts with the acidity in the lemon juice, helping it gel.
Around now I toss a saucer or small plate in the freezer to get it cold. I would also place the lids and rings in a my saucepan with just a few inches of water (enough to cover, plus an inch) and bring it to a simmer.
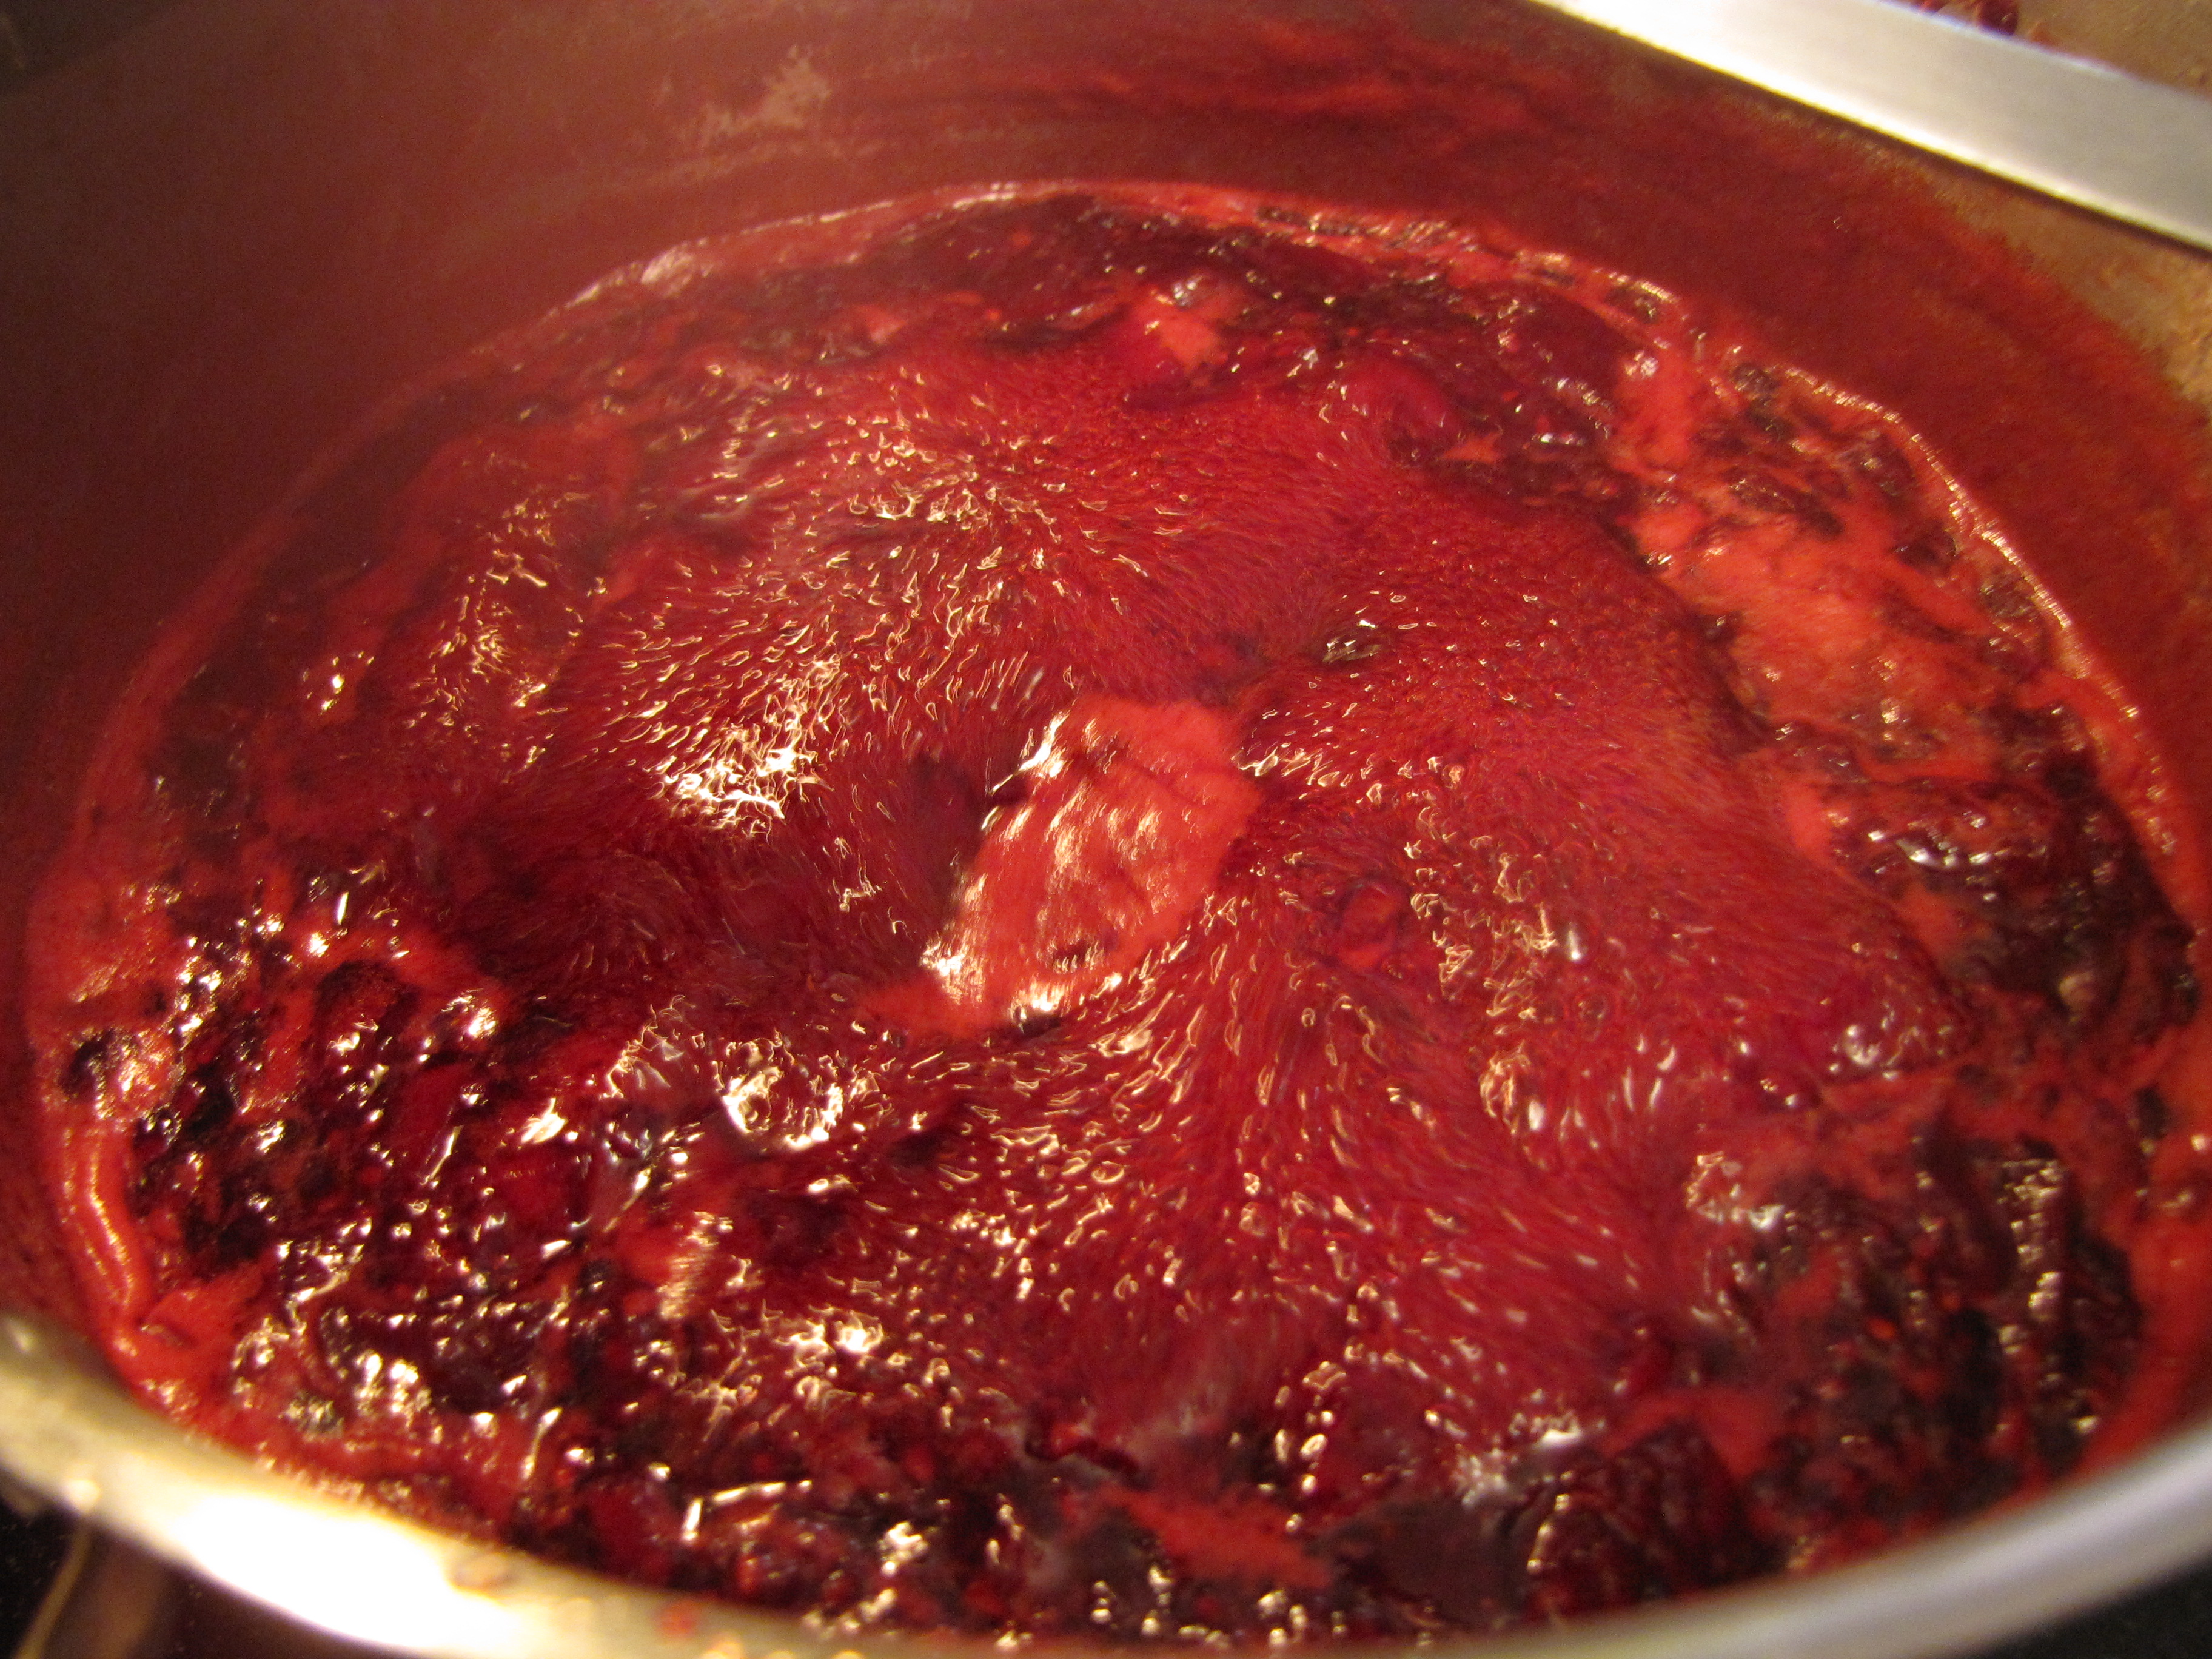
Once the jam comes to a boil, I mix up my remaining 1/2 cup sugar with the pectin, so the pectin doesn’t clump. This is added to the jam and mixed well to combine. Lower the heat to medium and let the jam bubble and burp for about 15-20 minutes, stirring continuously, until it begins to thicken.
Once your lids and rings come to a simmer, I usually turn off the heat and put a lid on them. This keeps them warm and clean. The heat cleans the lids, but also softens the wax along the bottom ring of the lid, making for a strong seal. You don’t want to boil the lids for a long time, just a nice simmer for a few minutes will do.
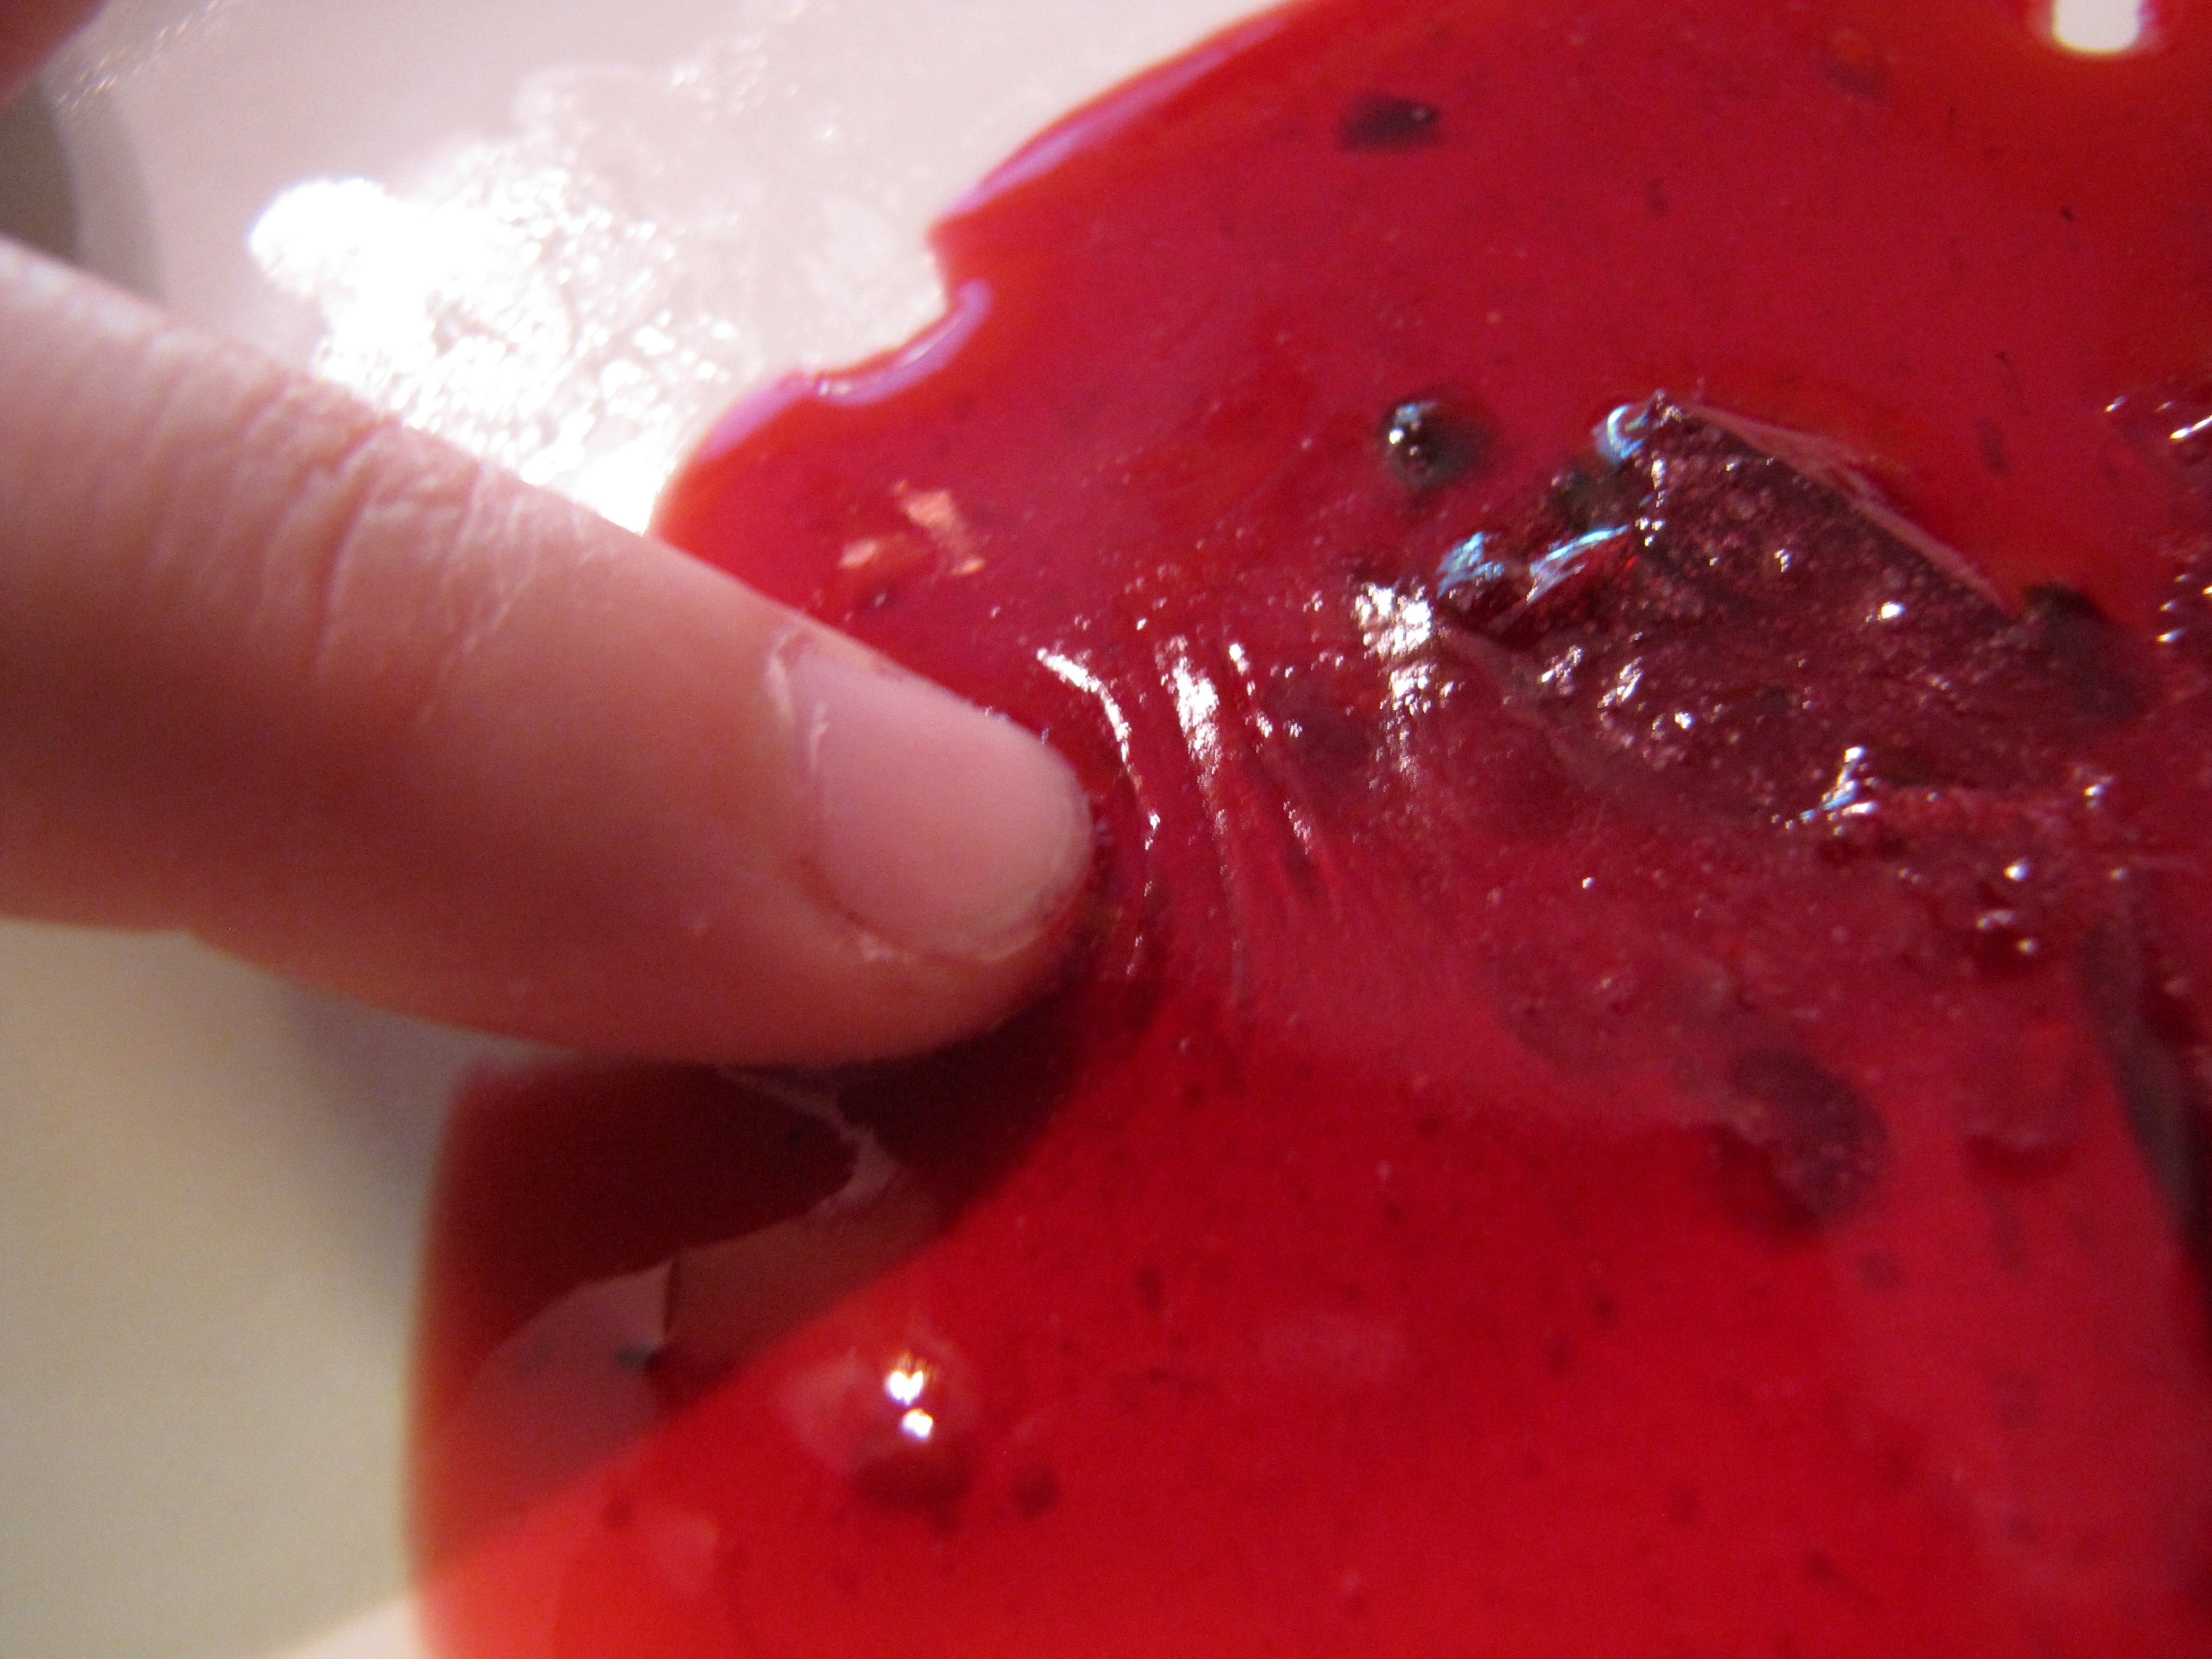
Once the jam starts to thicken you can begin testing it. We are checking to see if the jam will gel properly. To do this, retrieve your cold saucer or plate from the freezer and ladle on a little jam, about 1-2 tbsp will do. Place it back in the freezer for about 2 minutes to cool. Keep stirring that jam! Once the test jam has cooled, take it out and push your finger against the edge of the jam. If it is ready, it should wrinkle up slightly. That means the jam will gel. If your finger goes right through it with no resistance or wrinkle, clean off the plate, toss it back in the freezer and keep cooking that jam. Test again in 5 minutes.
If you are concerned that the jam is, yes, wrinkling, but not as thick as you want your finished product to be, don’t fret. This is a basic gel test and your jam sets up much more as it cools in the jars over the course of a day or two. This is just a simple way to gauge if it’s ready or not.
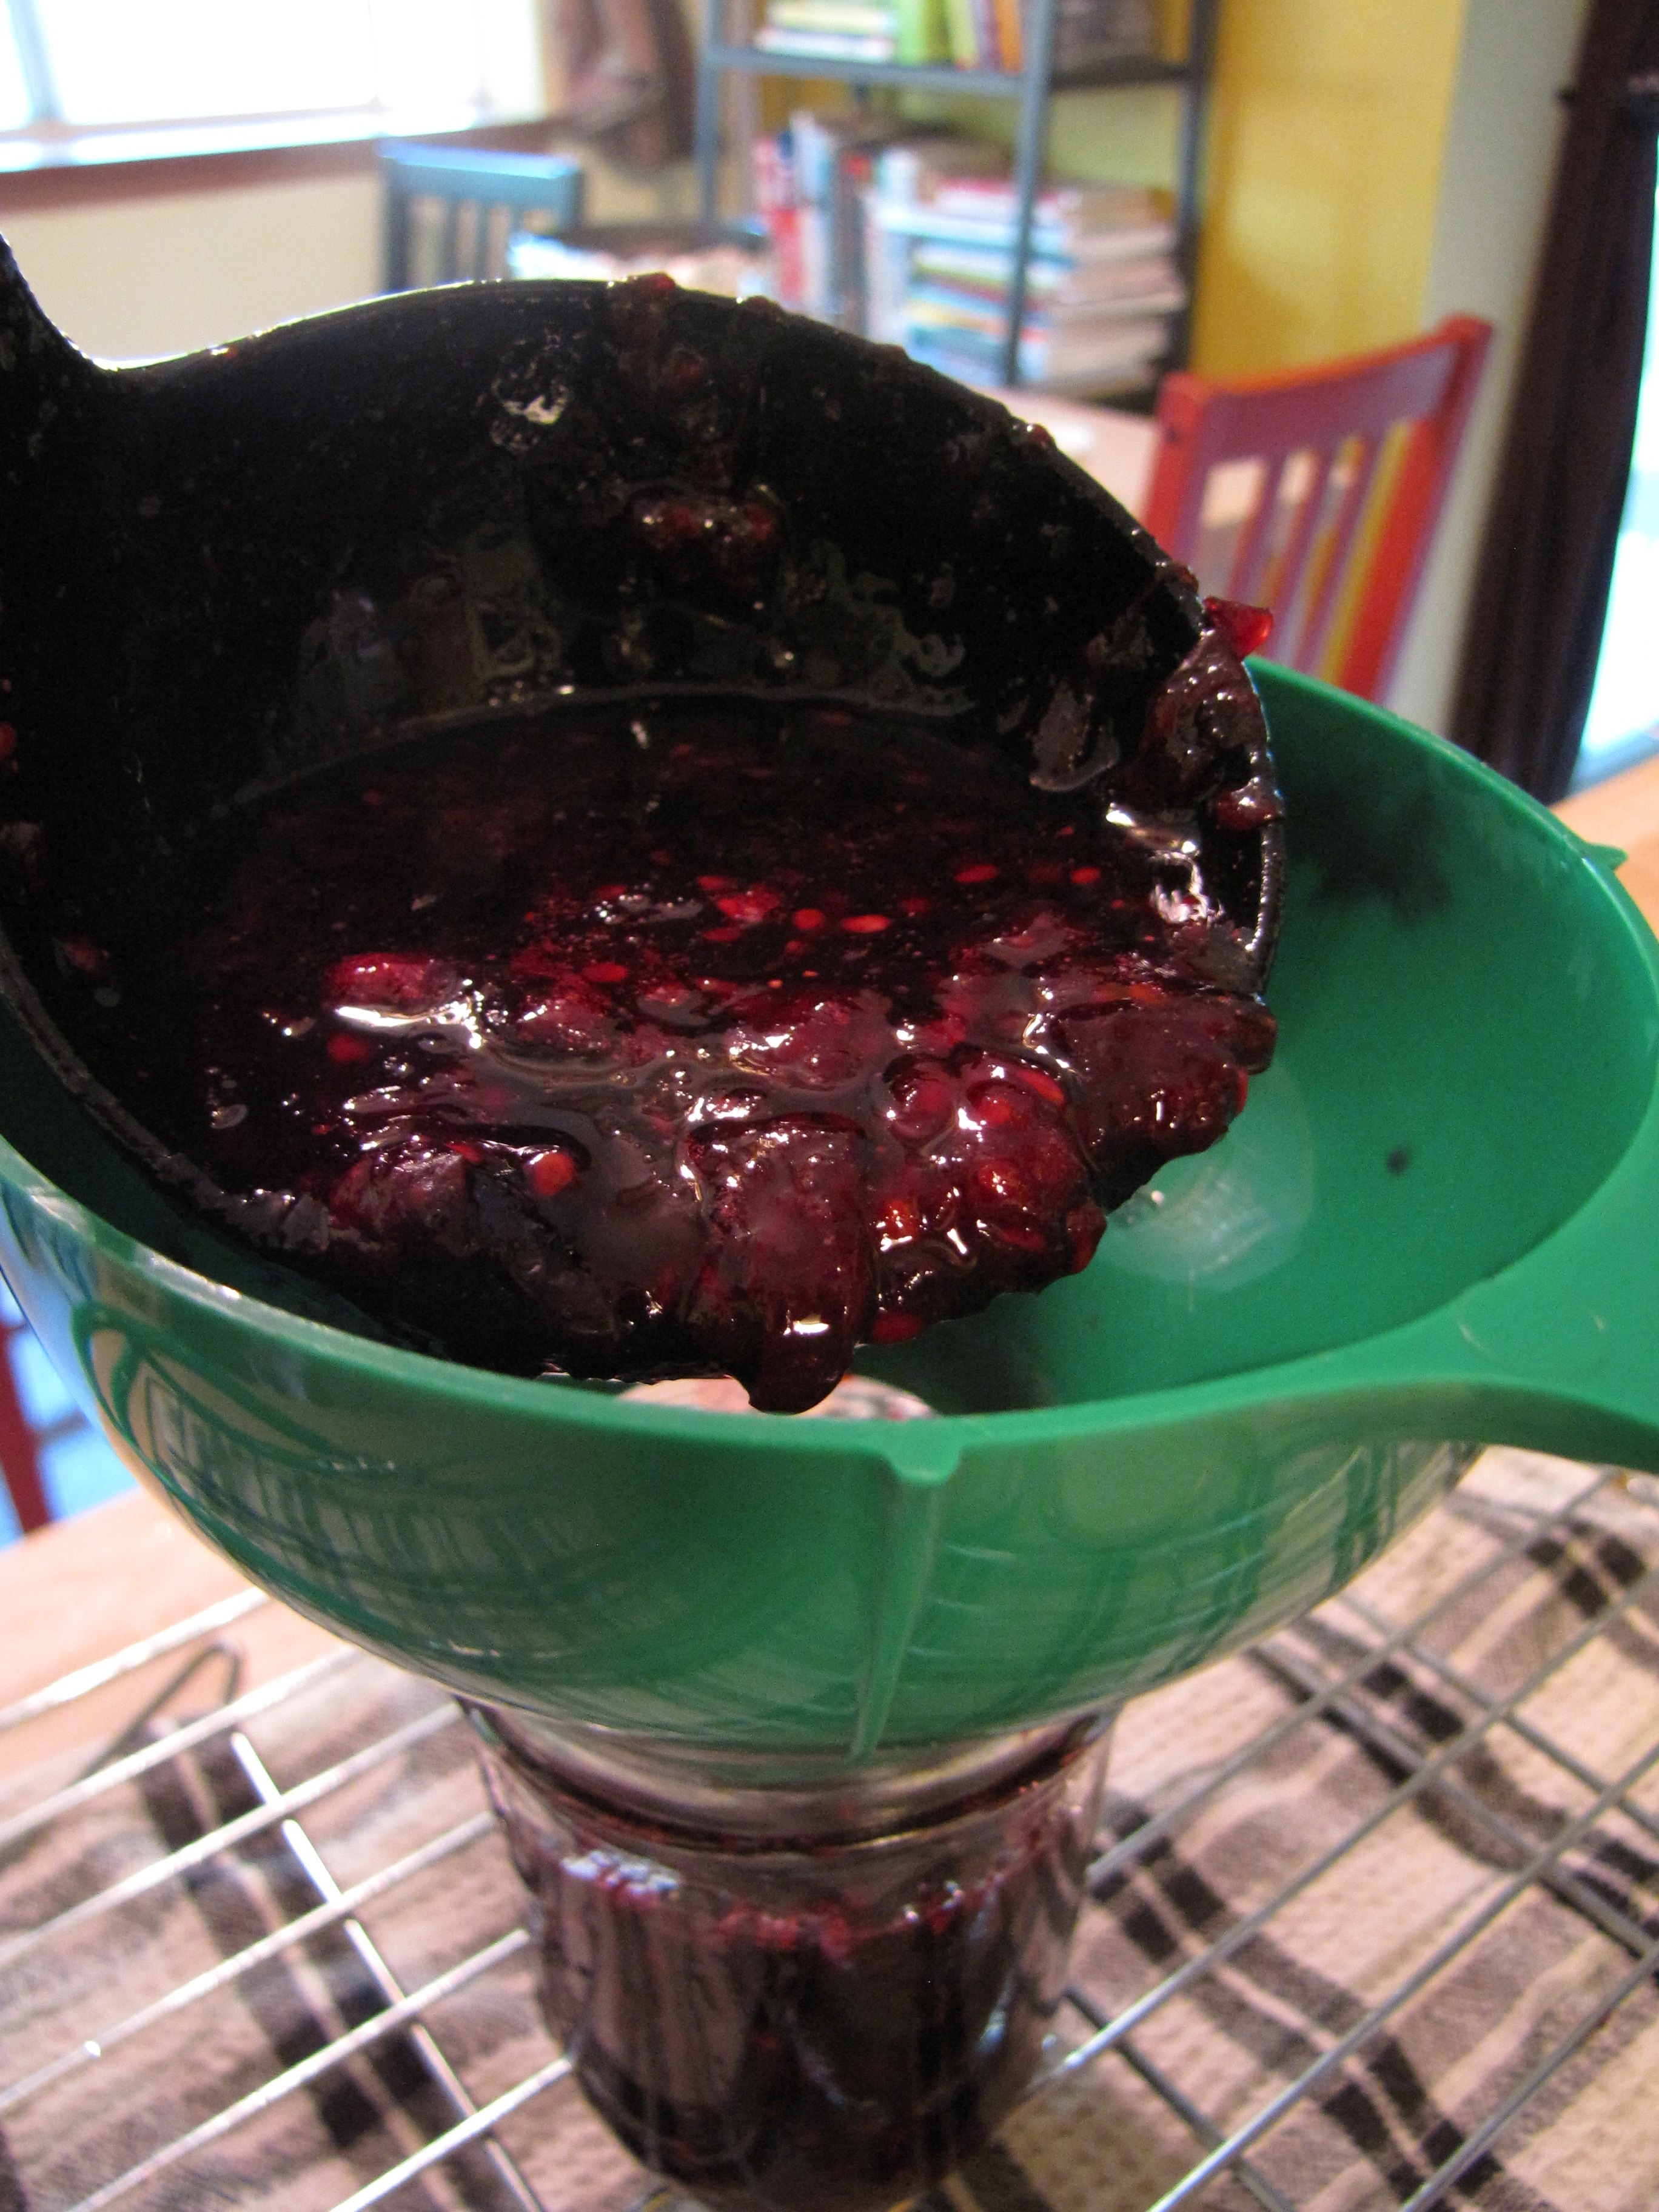
Once the jam is set, you can start to fill your jars. If your jam has a lot of foam on the top of it, skim it off as best you can.
I remove my simmering jars from the canner with the lifter and tilt them carefully to dump out the water. Quickly sanitize your funnel by dunking it in the hot water on the end that will touch the jars and ladle in your yummy jam, filling each jar to 1/4 inch below the edge. If there is too much space, the jar may not make a strong seal. If there is not enough room, the pressure from the seal may push out jam, causing it to ooze down the sides of the jar. About 1/4 inch space will do and if you don’t seal or it oozes, it’s not the end of the world. After filling each jar, use a plastic utensil and run it around the inside of the jar to release any air bubbles.
Wipe the rim with a clean cloth to remove any jam residue and place on a lid and screw on a ring. This is when your magnet and the jar vice thing come in handy, but a pair of tongs and a towel or ovenmit work, too. Just remember to be careful, as your jam and jars are very hot. Do not over tighten the rings. Just screw them down until there is resistance, but don’t tighten them, as the glass needs to be able to flex. I fill all of my jars on a cooling rack, with the legs folded in, over top of a dish towel to catch any water or jam splatter. Be careful of your placement of jars on the cooling rack, distributing the weight, so it doesn’t tip. This has happened to me and while I caught them in time, it’s startling and the jars are hot to the touch!
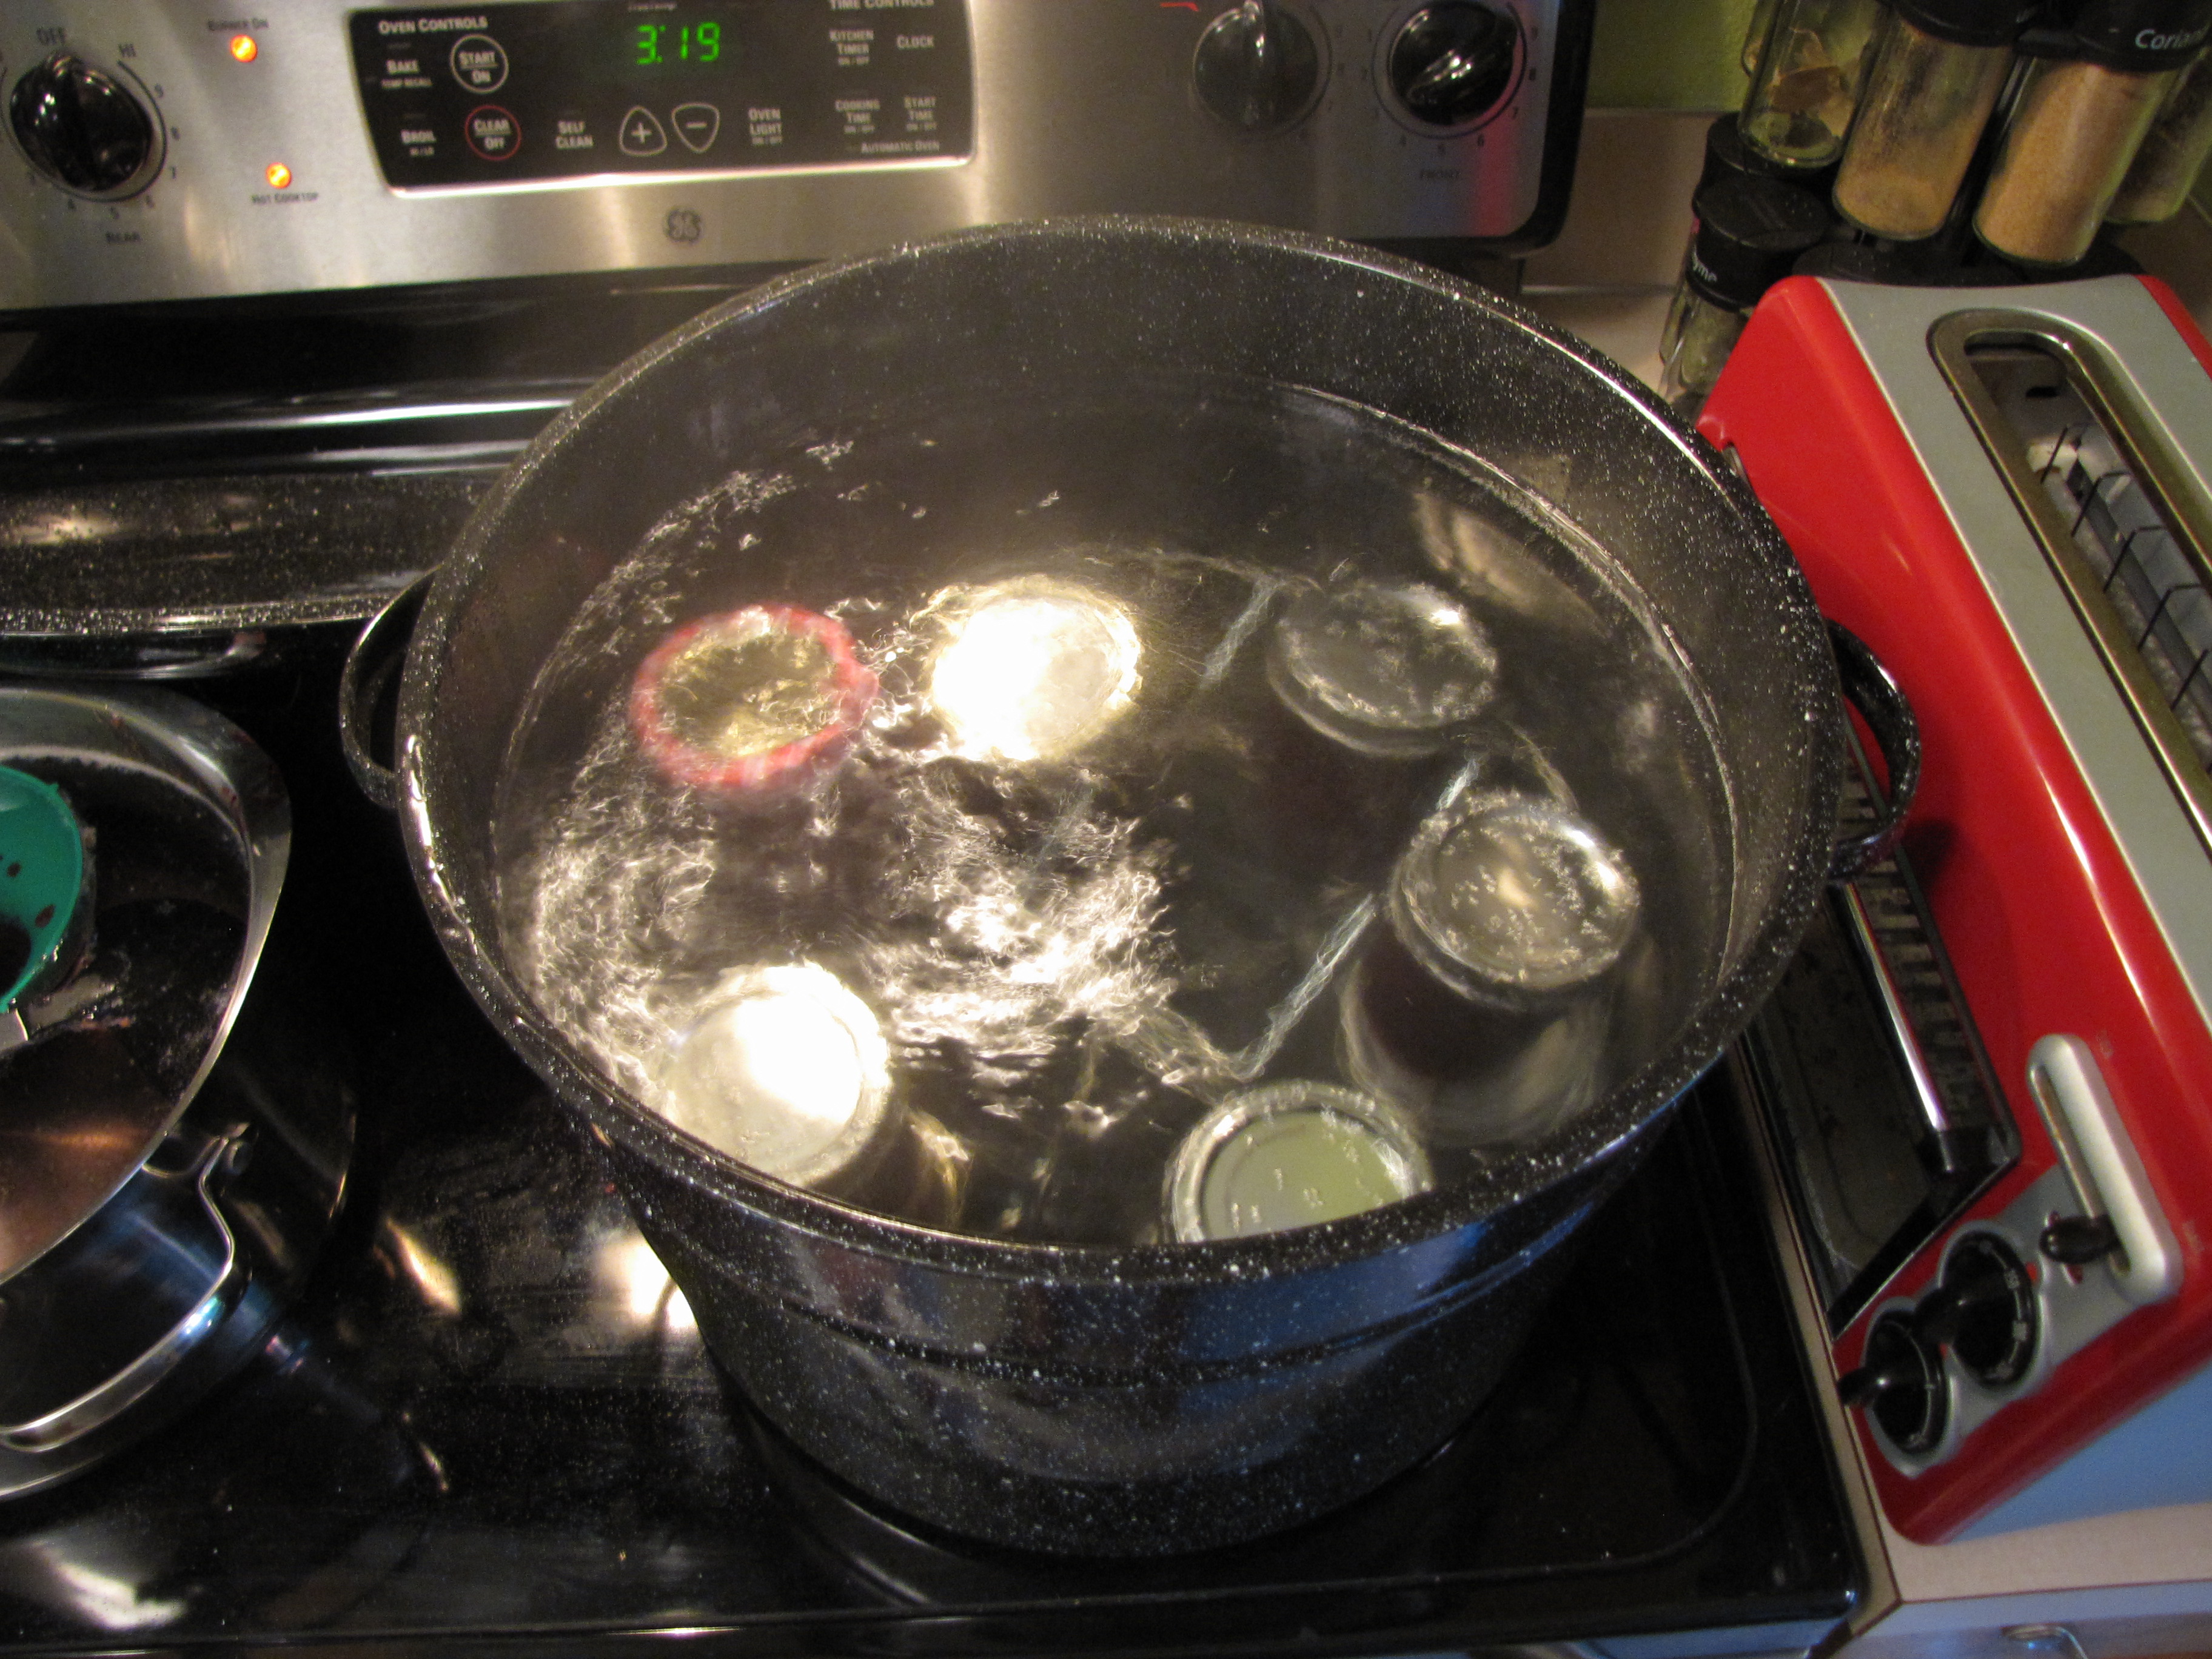
With the lid on, bring the canner to a boil. There should be enough water to cover the jars by 1-2 inches. Once boiling, carefully add them to the canner with the jar lifter and cover. For this jam, I processed them by boiling for 10 minutes. Other recipes you find my differ.
And this is where we get into the great jam debates. Some people process their jam in a water bath. Some people fill the sterilized jars, invert them for a few minutes and then just let them seal themselves, with no water bath. I have tried both. You will hear many people who have been canning for decades, and have never had a problem, insist that you don’t need a water bath. I encourage you to do some research and do what you are comfortable with. You will find, in the world of canning, loads and loads of contridictory advice, which is probably why it can seem overwhelming. I have found that the water bath seals feel much stronger, but they still seal fine without the water bath. I am a very cautious person, so I proceed with the water bath. It’s your call.
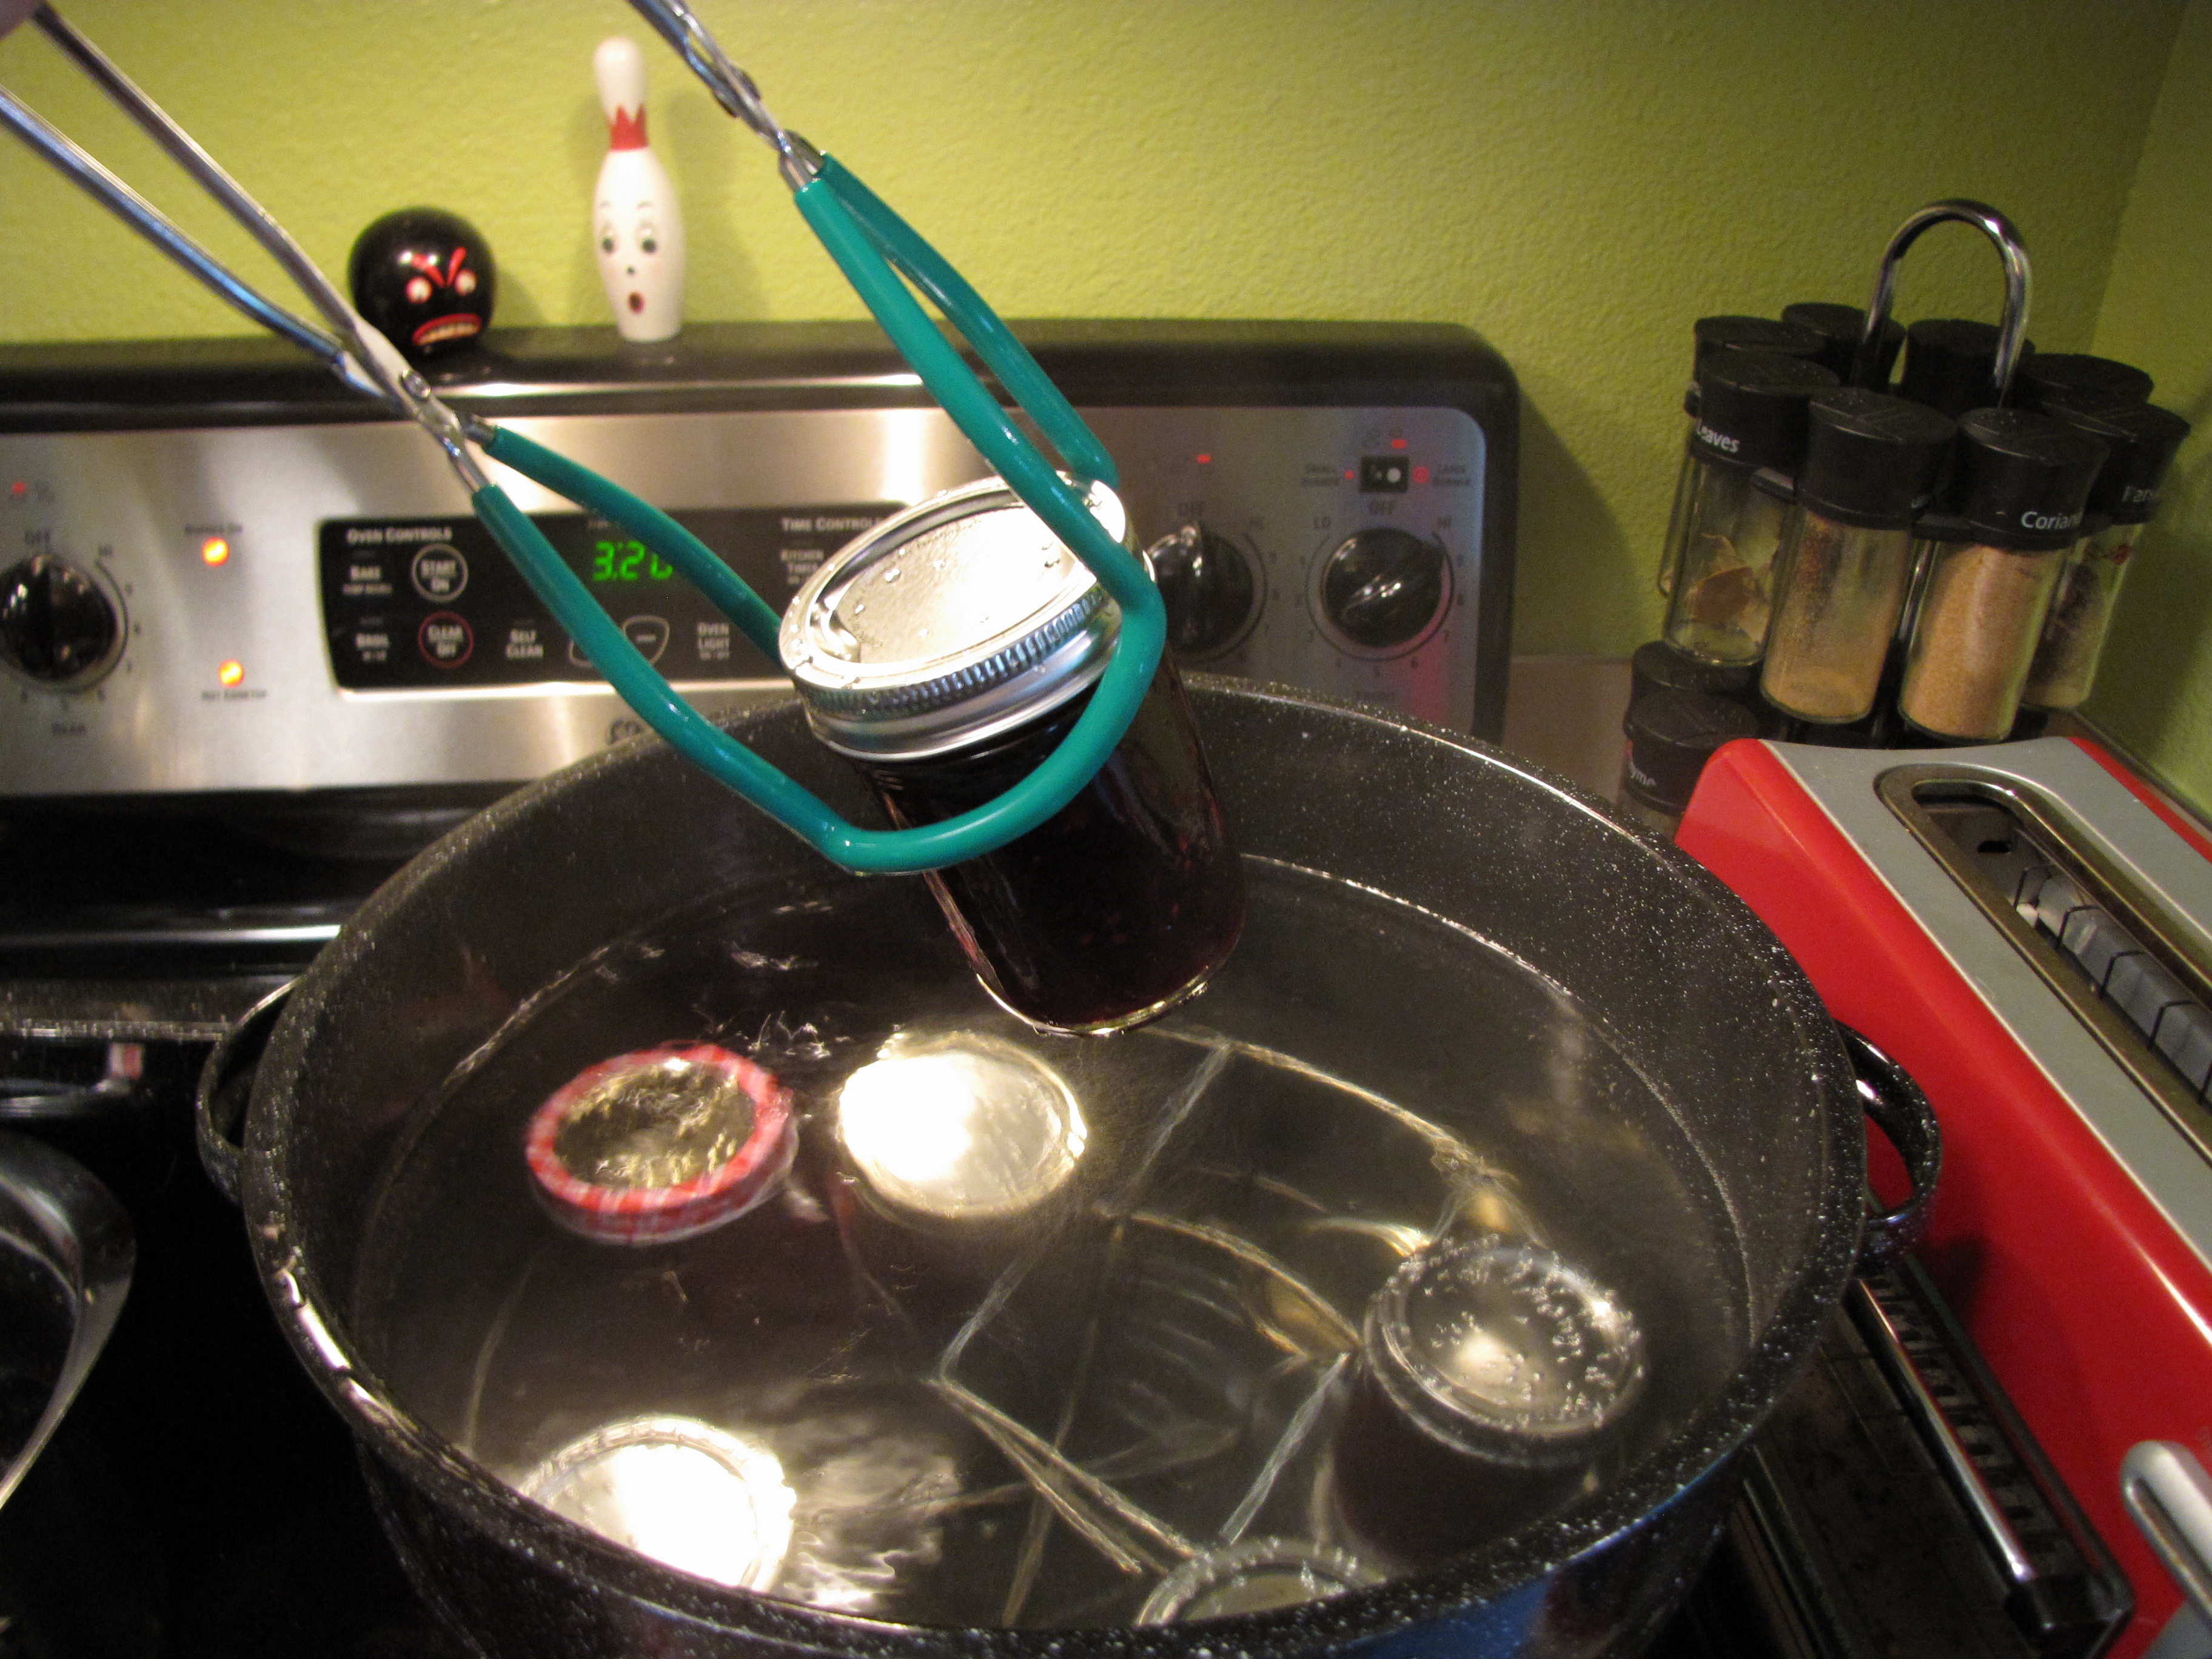
After the 10 minutes, remove the jars and let them cool completely for at least 12 hours, I shoot for 24. The rings will probably have loosened and I usually wait until they are completely cooled before tightening. After you remove the jars, you should hear the satisfying “ping” of the jars sealing. This can take up to 12 hours, but with jam usually happens within a few hours.
Any jars that do not seal should be stored in the fridge and consumed first. The others can be stored in a cool, dark place for up to a year. Whenever retrieving jam that you previously canned, always check to make sure it’s still sealed before eating. If the seal released or if there is any sign of mold, discard the jar of jam. Foam from the jam can leave a bit of a texture on the top of a jar, but it should be easy to tell the difference.

After your jam has cooled and set up, enjoy! Some kinds of jam can take a couple of days to a couple of weeks to really set up, so if it’s not quite as thick as you’d hoped, there is still a chance. And if you have a jam that doesn’t thicken, use it as a dessert sauce or over ice cream. There is plenty of room in your heart for warm berry sauce over fudgy brownies or on top of creamy vanilla soy ice cream!
8 Responses to jam on parade!
Cookbook Pictures!
Archives
Squirrel’s Vegan Kitchen
Go back in time to my original blog: Squirrel's Vegan Kitchen!Tags
21.5.800 baking banana beans berries birthday breakfast brownies cakes canning chocolate cookbook cookies cooking cooking show cupcakes give away gluten free greens harry potter health holiday baking holiday meals kittehs muffins nostalgia nuts oatmeal peanut butter pie pumpkin quick eats quinoa real food recipe resolutions review soup summer TJs treat of the week vegan mofo vegan mofo 2009 video vita-mixCategories


Thank you for the detailed tutorial! It makes it seem totally doable. Lots of work, but doable, and so worth it! The day I’ll have homemade jars of jam (featuring a creative combo of local organic fruits) to open in February, I’ll have forgotten everything about the labour-intensiveness involved in their making!
Yes, the end results are definitely worth it. Honestly, after hours of slaving in the kitchen just hearing the “ping” is SO satisfying. Once you get it set up, it’s pretty rhythmic and not too bad. I queue up some podcasts and do a couple of batches back to back.
I have not made jam in years, but I think you have inspired me to give it a try again! Your jam recipe sounds fabulous. Question–have you ever tried making a sugar free jam? Maybe sweetened with fruit juice or agave or something?
Thanks!
Courtney
I have not made sugar free, but I want to. So many jam recipes have a sickening amount of sugar, so that’s why I use the pectin to lower the amount of sugar. I would like to try, though, so if I give it a go I’ll let you know!
Too cool! I can’t wait to try this myself!
It reminds me of when I’d help my Grandma make jam.
She was a water bath believer too.
Wow, this is a wonderful tutorial about canning! I followed you from the foodieblogroll and I am so impressed with what you have here. I’d love to guide our readers to your site if you won’t mind.Just add your choice of foodista widget to this post and it’s all set to go, Thanks!
Thanks Kris! I may do a bit of research and give it a go myself, so I will let you know if I get to it first and am successful!
Courtney